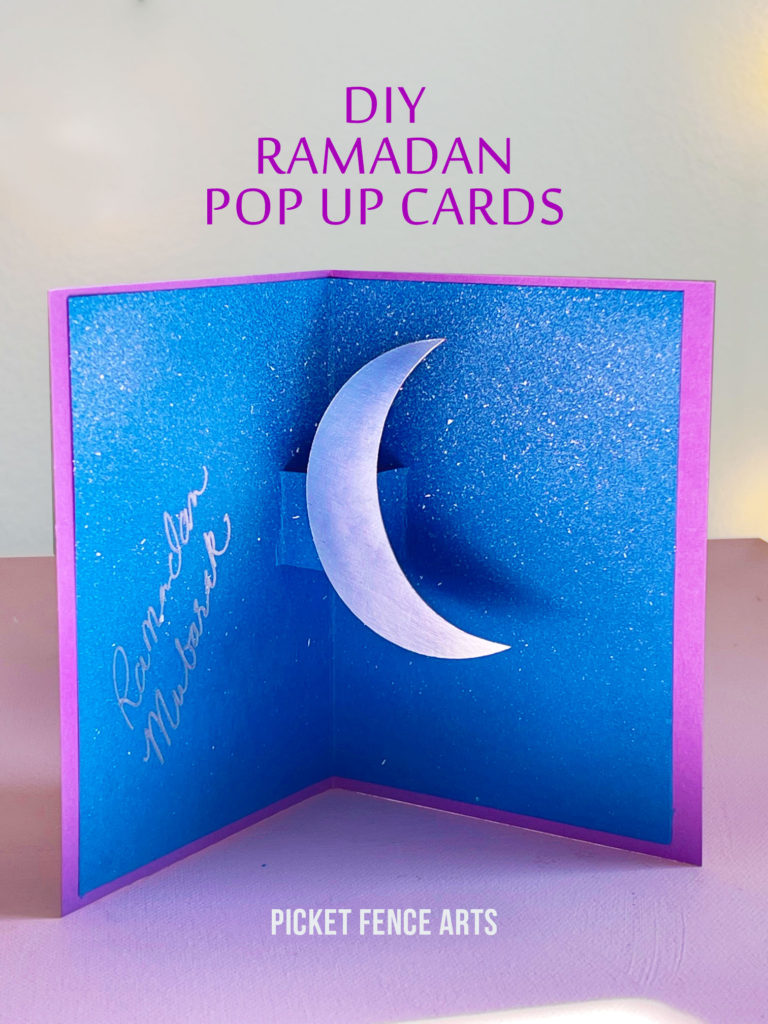
DIY Ramadan Pop Up Cards

Starry Night Ramadan Pop Up Card

Who doesn’t love a pop up card? I love opening a card and getting that unexpected pop of fun! And the best part is that it is very easy to make a pop up card of your own to give. I know I always say that I have a fun and easy DIY, but this truly is very easy! Honestly, I did not know it was so easy to make pop up cards. Best part is that it is fun to do with your kids. You can make the cards as simple and as intricate as you want-the possibilities are endless! Follow the steps below and you’ll be making your own pop up cards in no time.

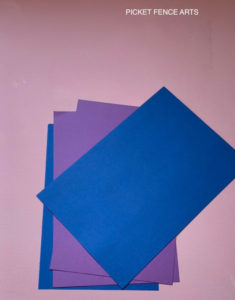
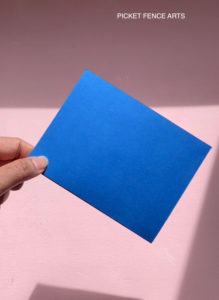
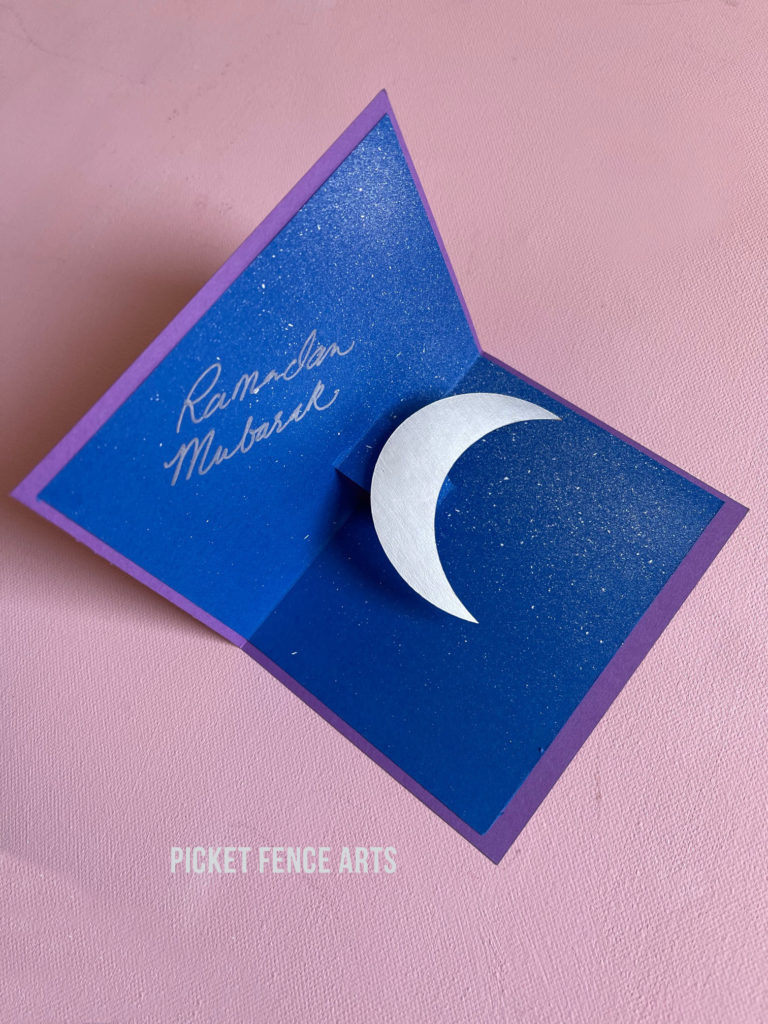
I made “Ramadan Nights” pop cards, so I used a dark blue color that will go on the inside. And I chose purple for the outside because it is a contrasting color. You can choose any colors that you like.

Materials:
-Two sheets of 8.5×11 card stock in contrasting colors
-Gold/Silver card stock
– Scissors
-Craft Paint
-Old toothbrush
-Glue

1. Protect your work space by placing down newspaper or drop cloth, otherwise you might have some paint splatter on your desk 🙂
2. Cut your card stock in half.
3. Lay down your darker card stock down on the surface.
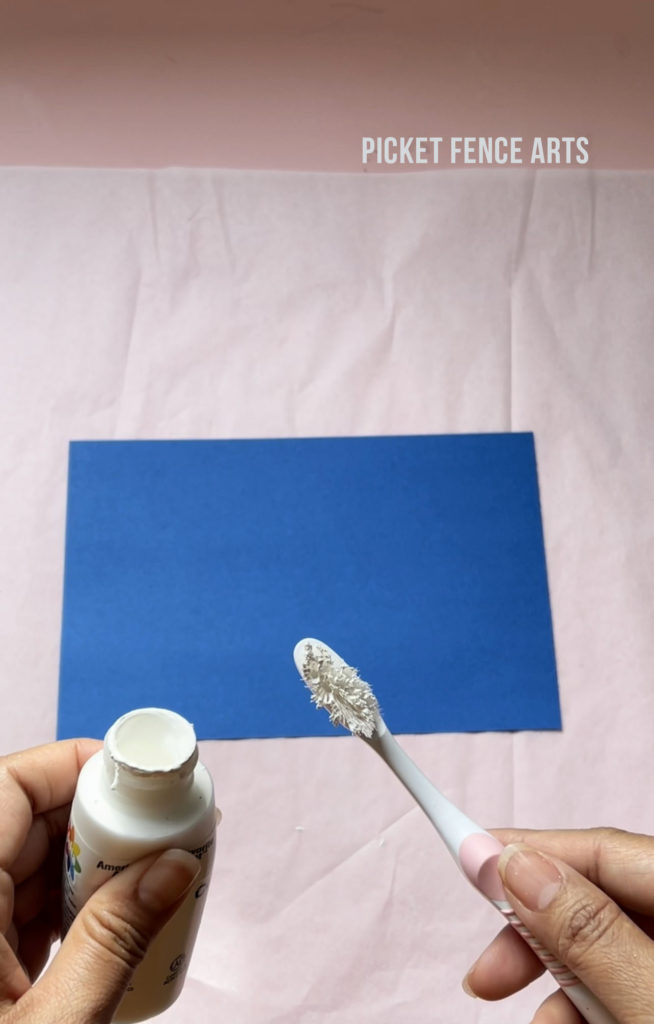
4. Spread a thin layer of craft paint on your toothbrush. If you don’t get a thin layer then you might get some thicker blobs of paint on your paper and depending on your project, that can be just fine.
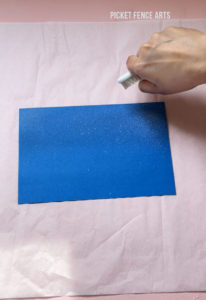
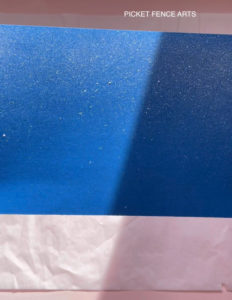
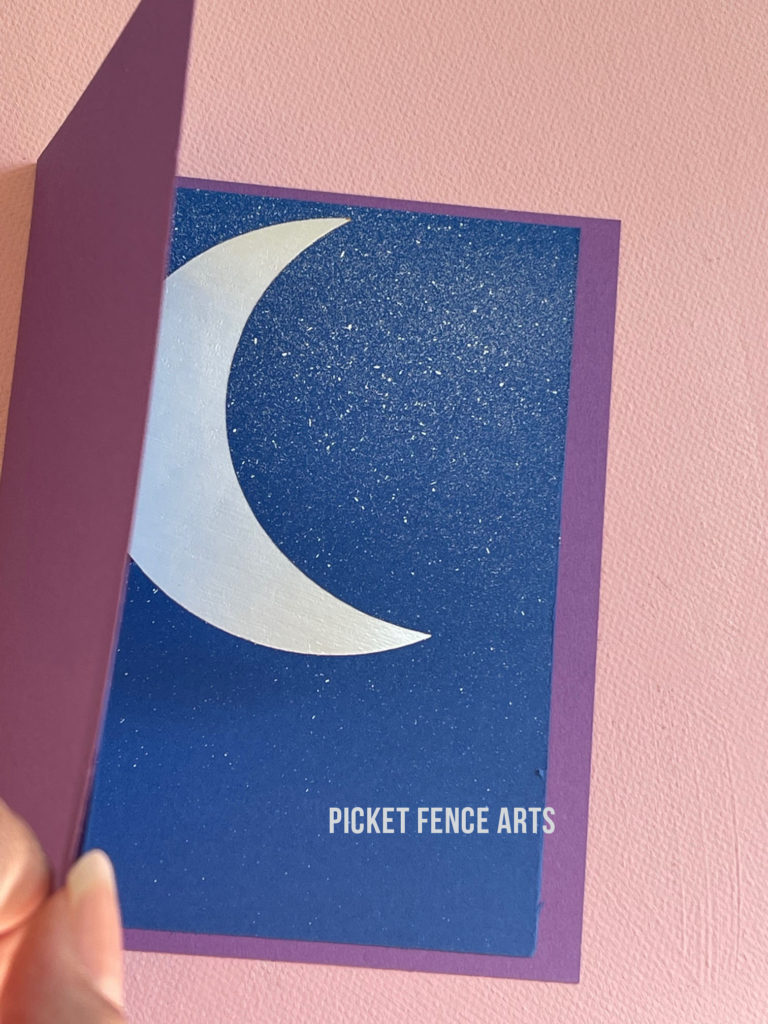
5. With the bristles facing down, flick the bristles with your thumb to splatter the paint on paper. I concentrated more on the upper half section to create the “starry night” sky. You can also use a pencil or a stick to splatter the paint. But I feel like using your fingers gives you more control on where you want the paint to go.
6. You can go over as many times as you like until you are satisfied with the look.
7. Let the paint dry completely.
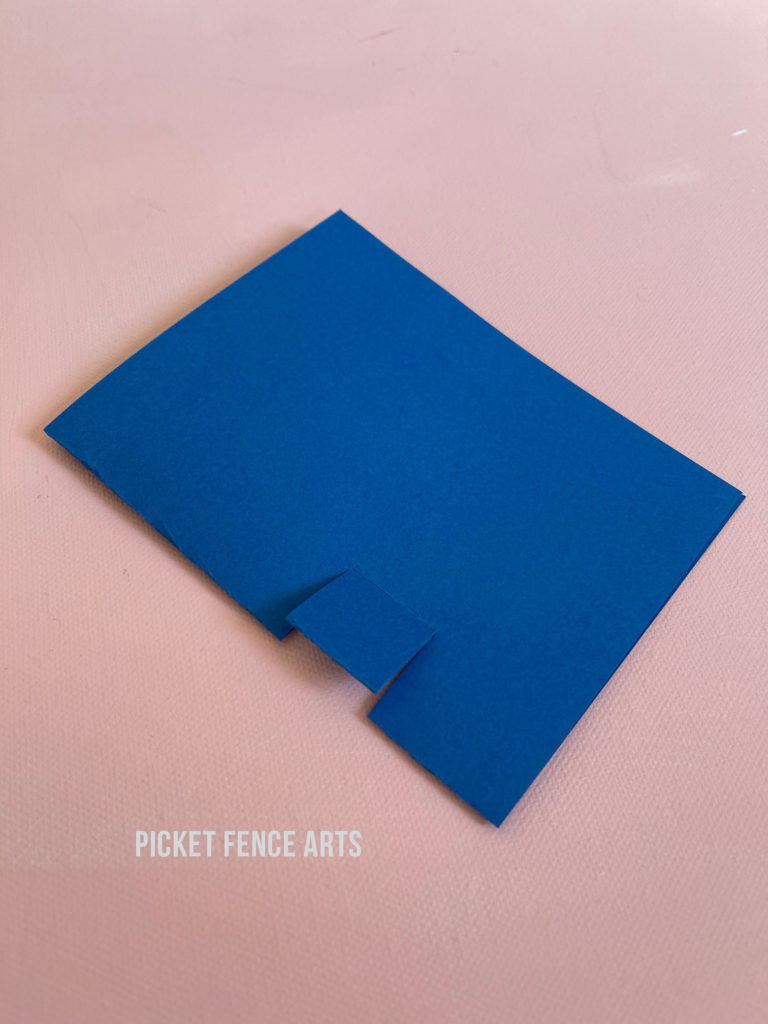
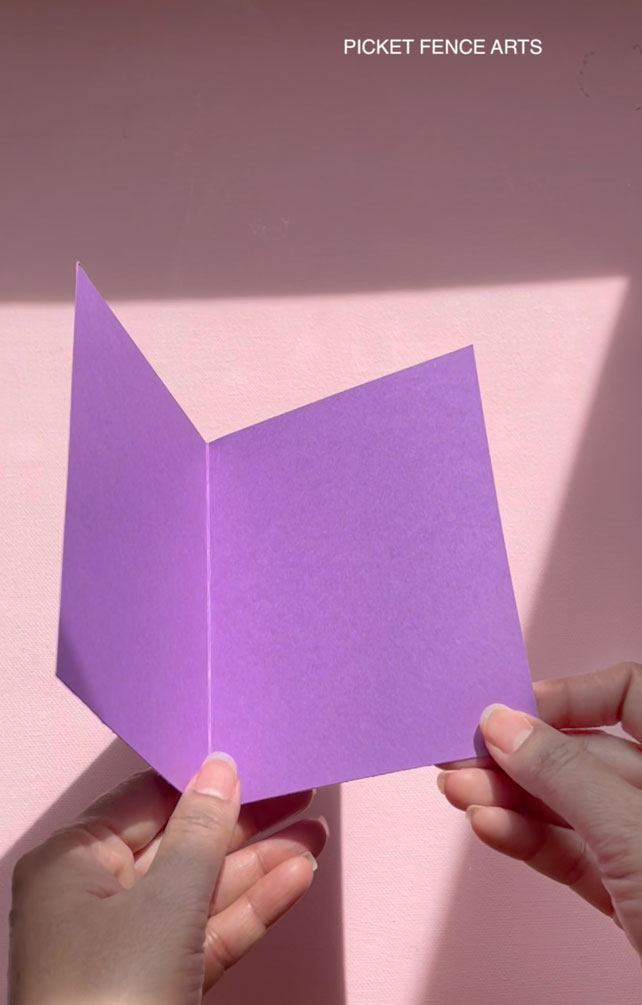
8. Fold the paper in half. Then take your scissors and cut two parallel slits on the folded side of the card, about 0.75 inch apart and about 0.75 inch long (measurements will vary depending on the size of your card).
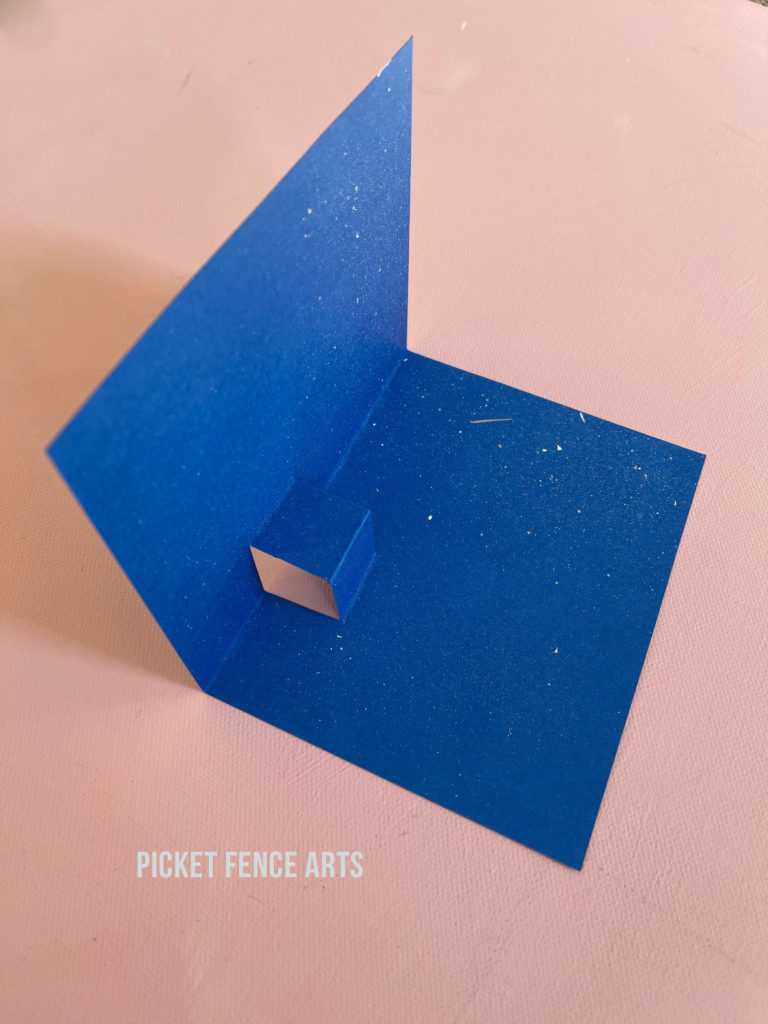
9. Next, bend the fold forward one time and backward one time to create a nice crease.
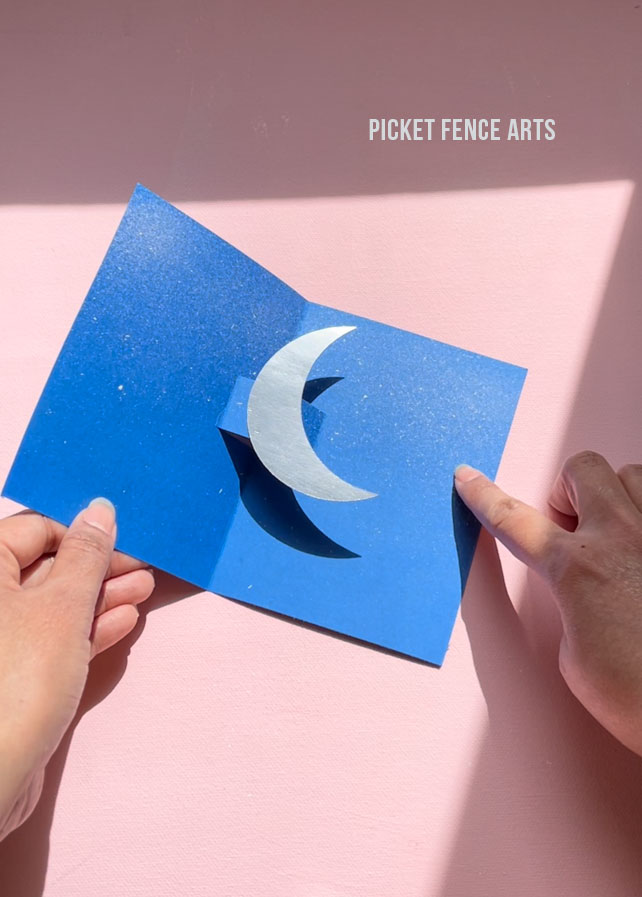
10. Open up your card and pop up the cut part towards the opening of the card.
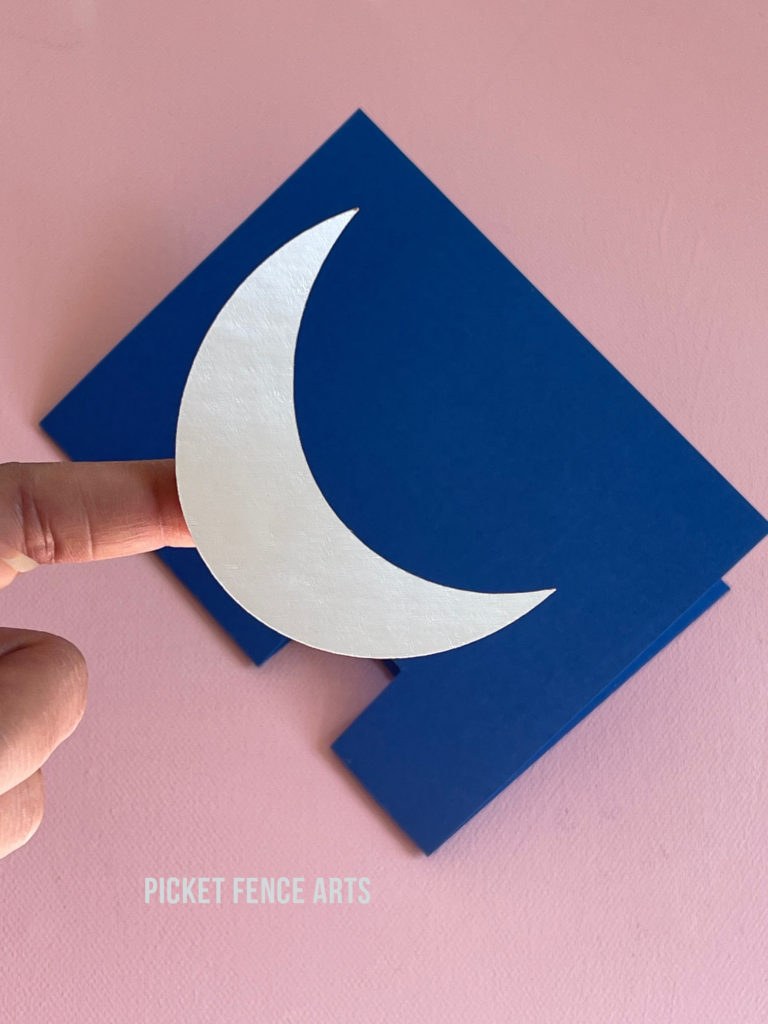
11. Glue the crescent on the “pop up” part of the card. Careful to place it so it does not stick out when the card is closed.
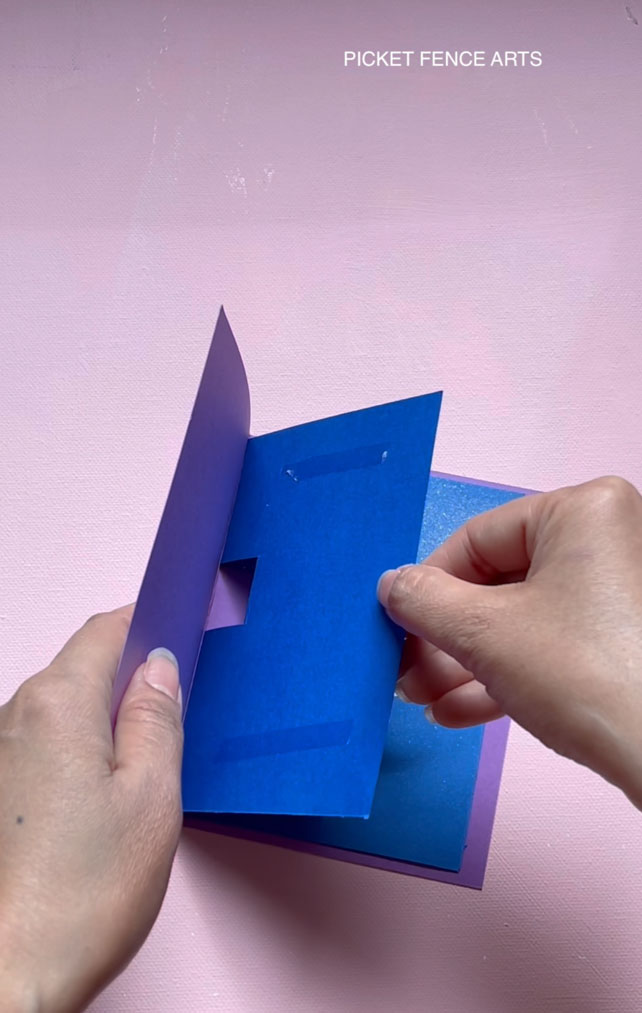
12. Fold the outside piece of card stock in half, and glue the inside piece to cover up the hole created by the “pop up”.
13. And viola, your pop up card is ready!
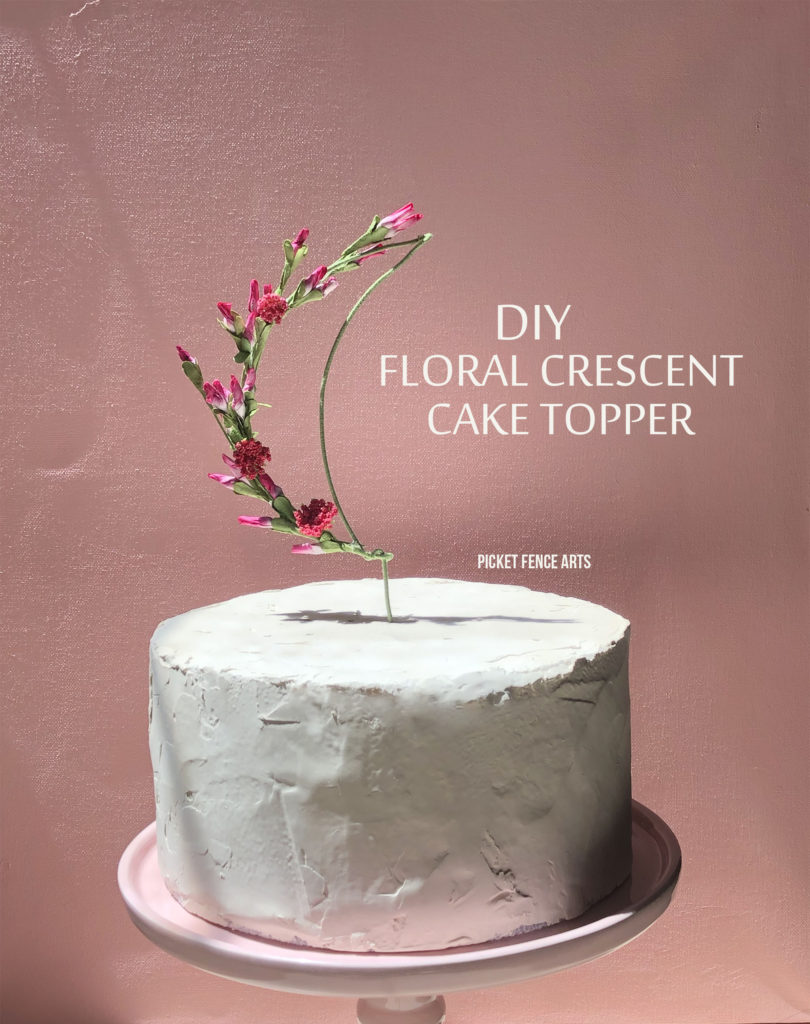
DIY FLORAL CRESCENT CAKE TOPPER

Eid Cake Topper
Eid Cake Topper

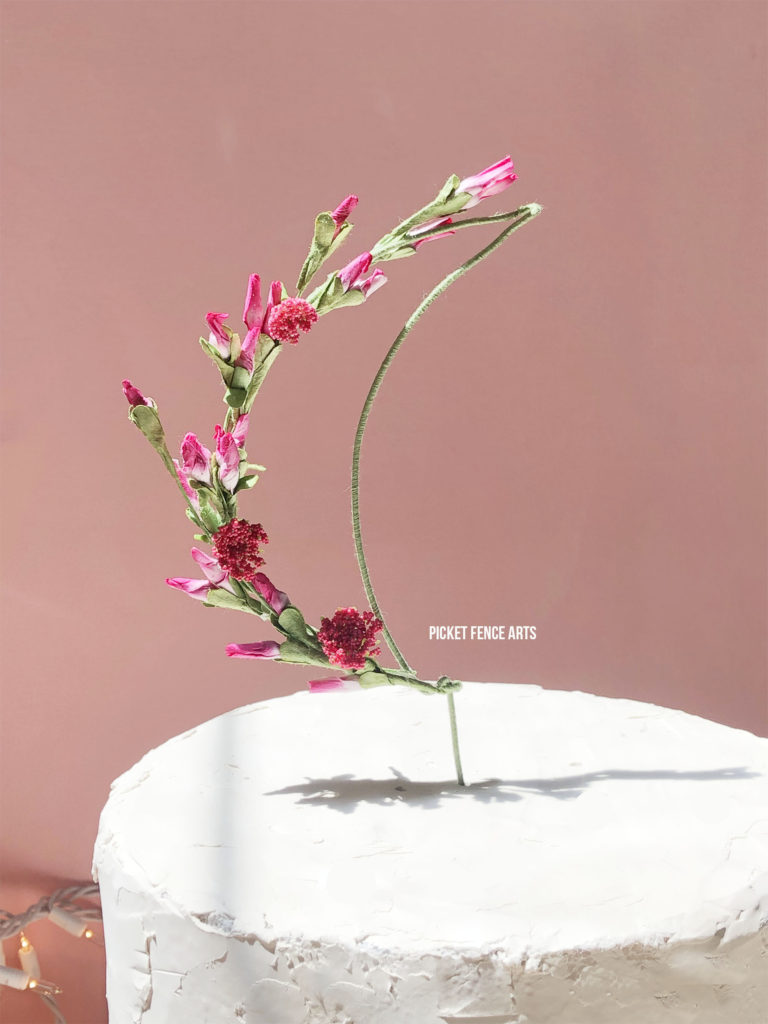
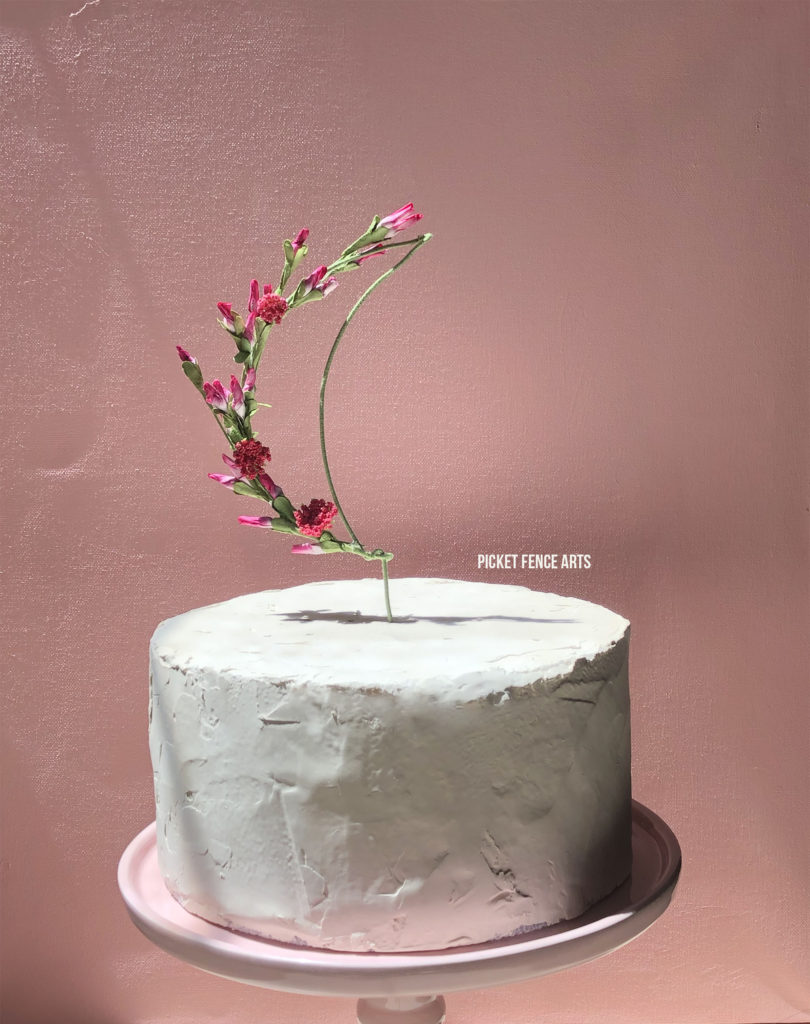
This modern, minimalist, floral cake topper is perfect for Eid. All you need are a few basic things to make it. And your Eid table will be oh-so-chic! Watch me make it here on Instagram.

Supplies:
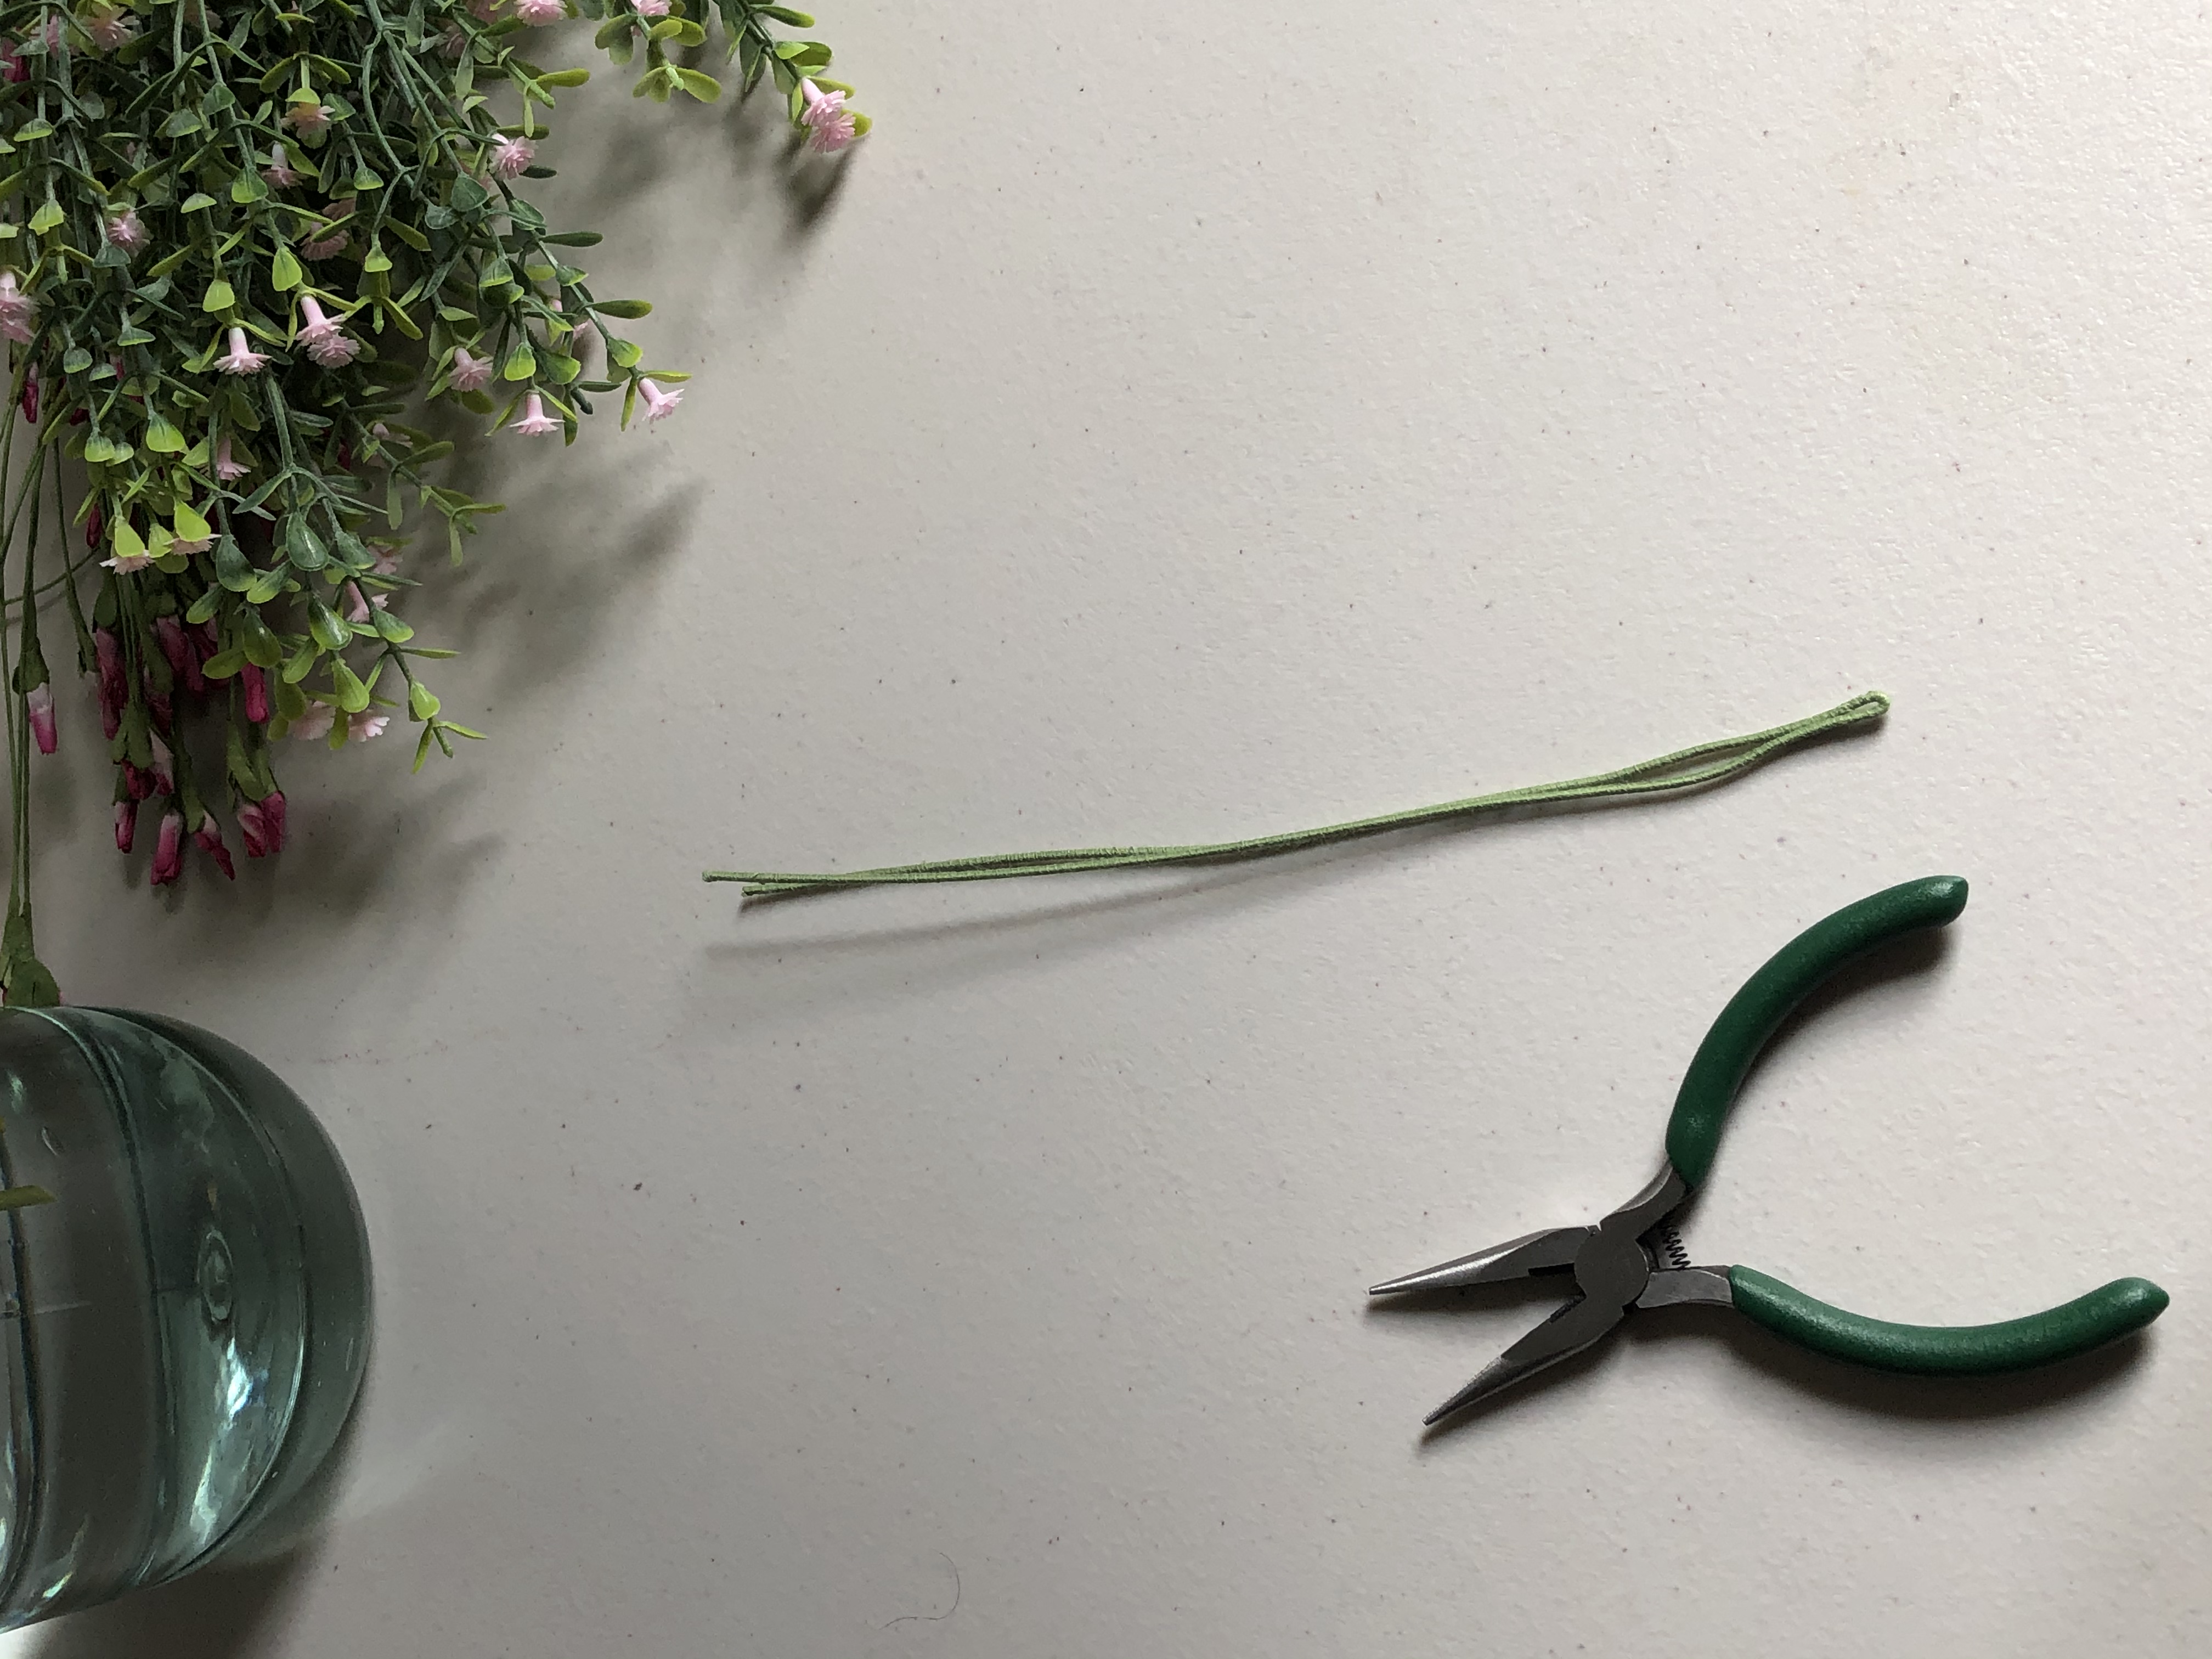
-Floral Wire Stem (any 18 gauge wire would do)
-Pliers
-Paper Flowers from craft stores
-Hot Glue Gun (or any craft glue)
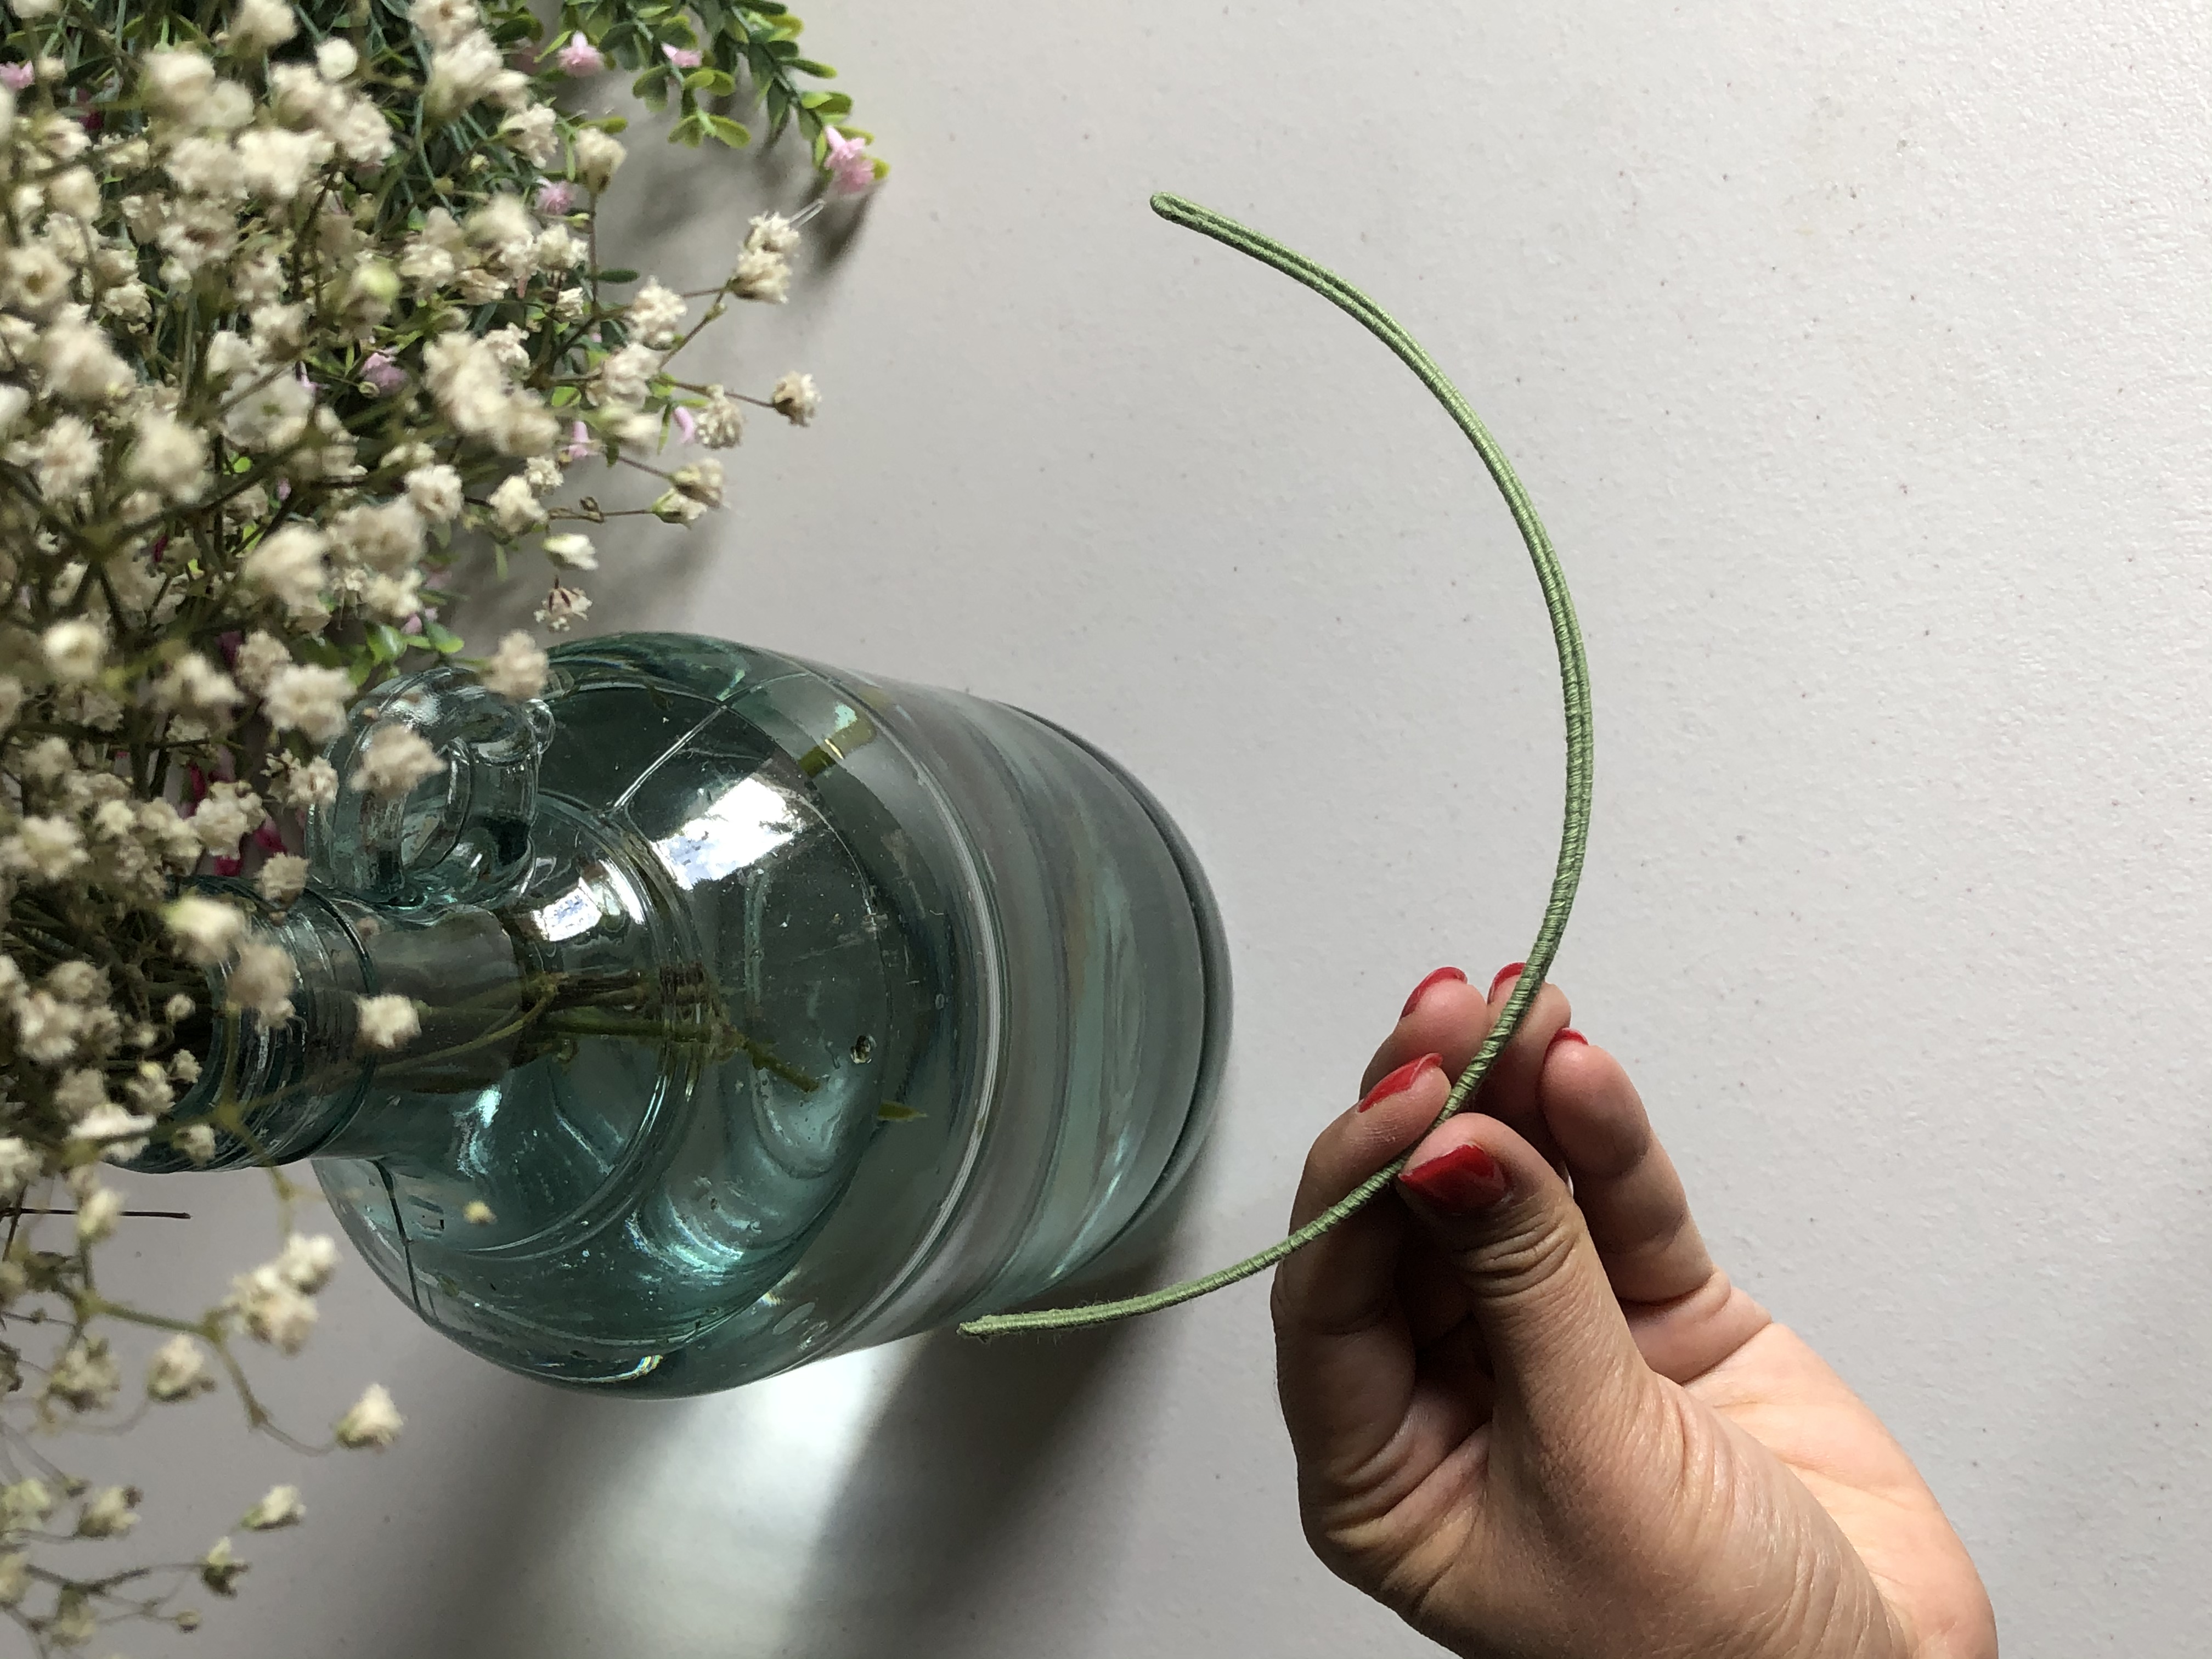
-A round vase or jar (to shape your crescent around it)

Method:
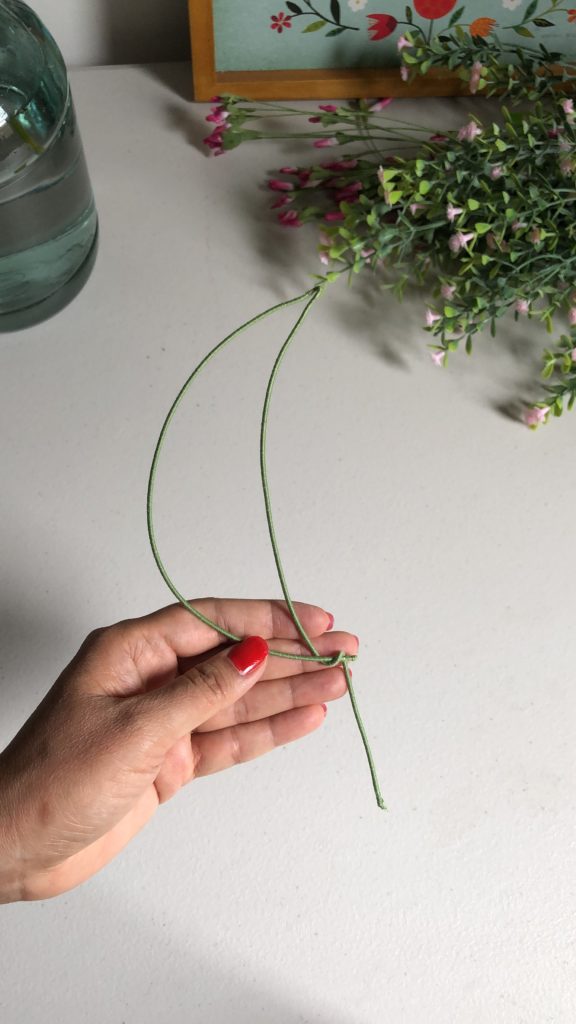
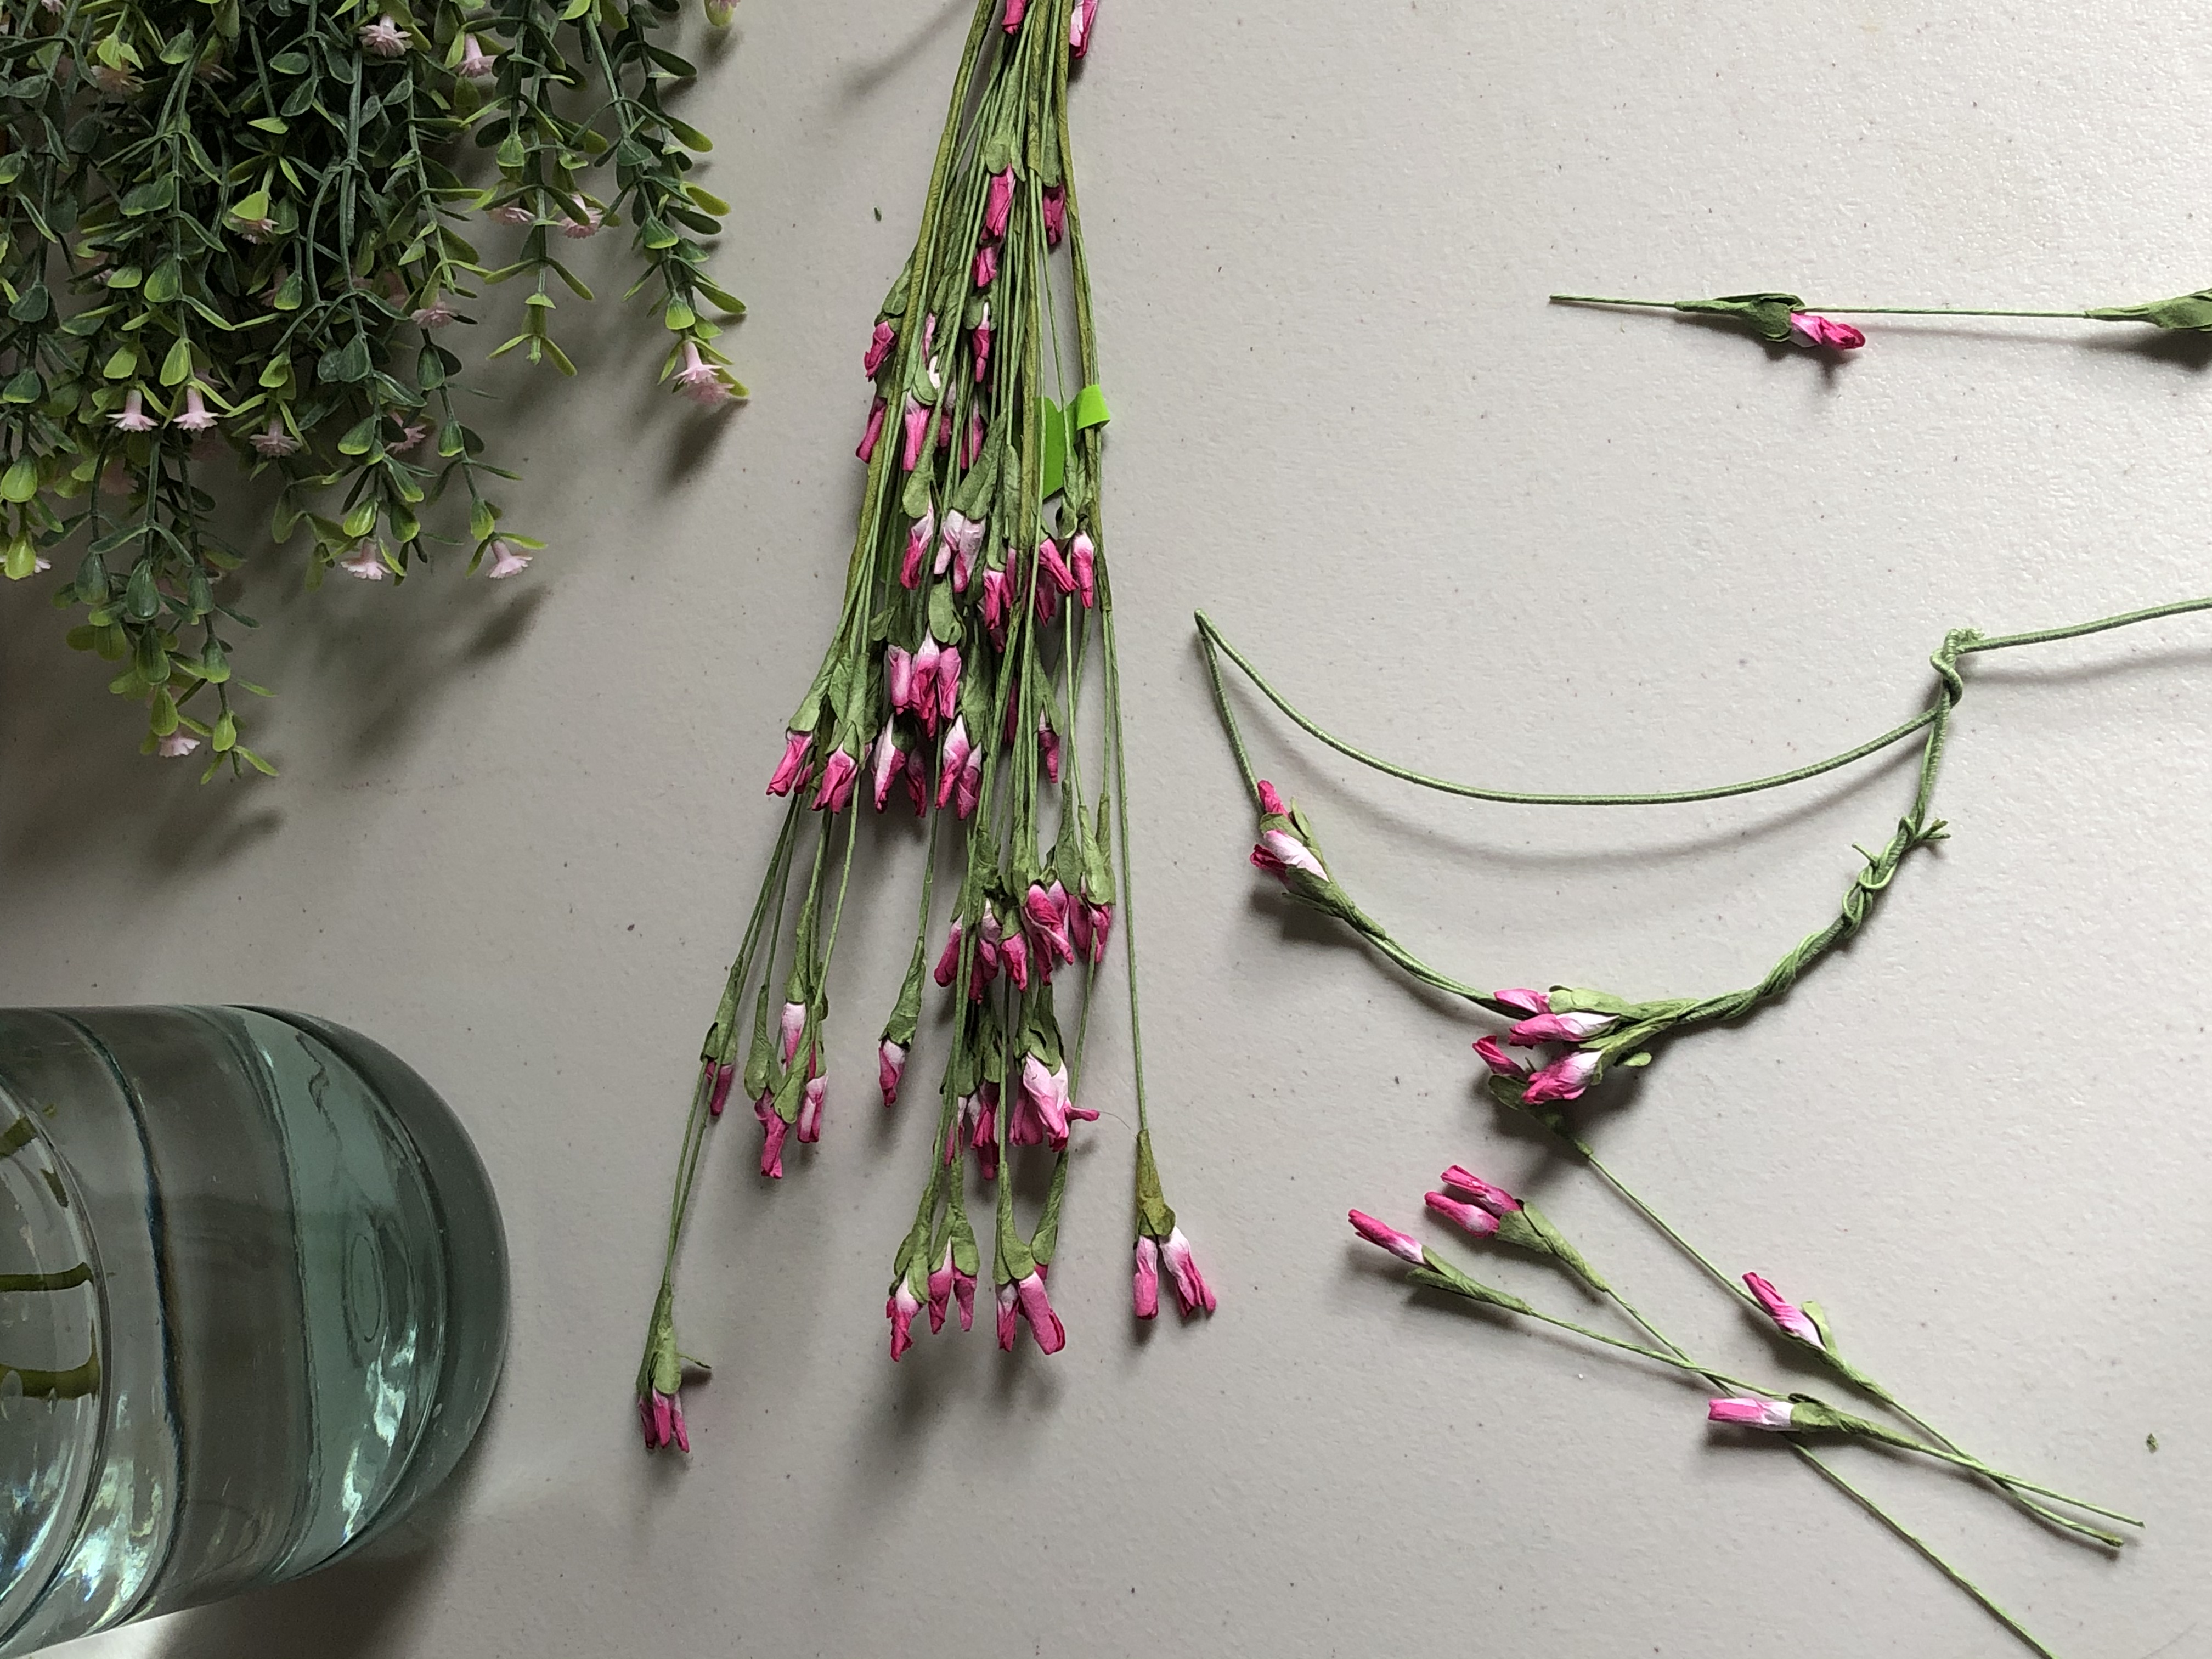
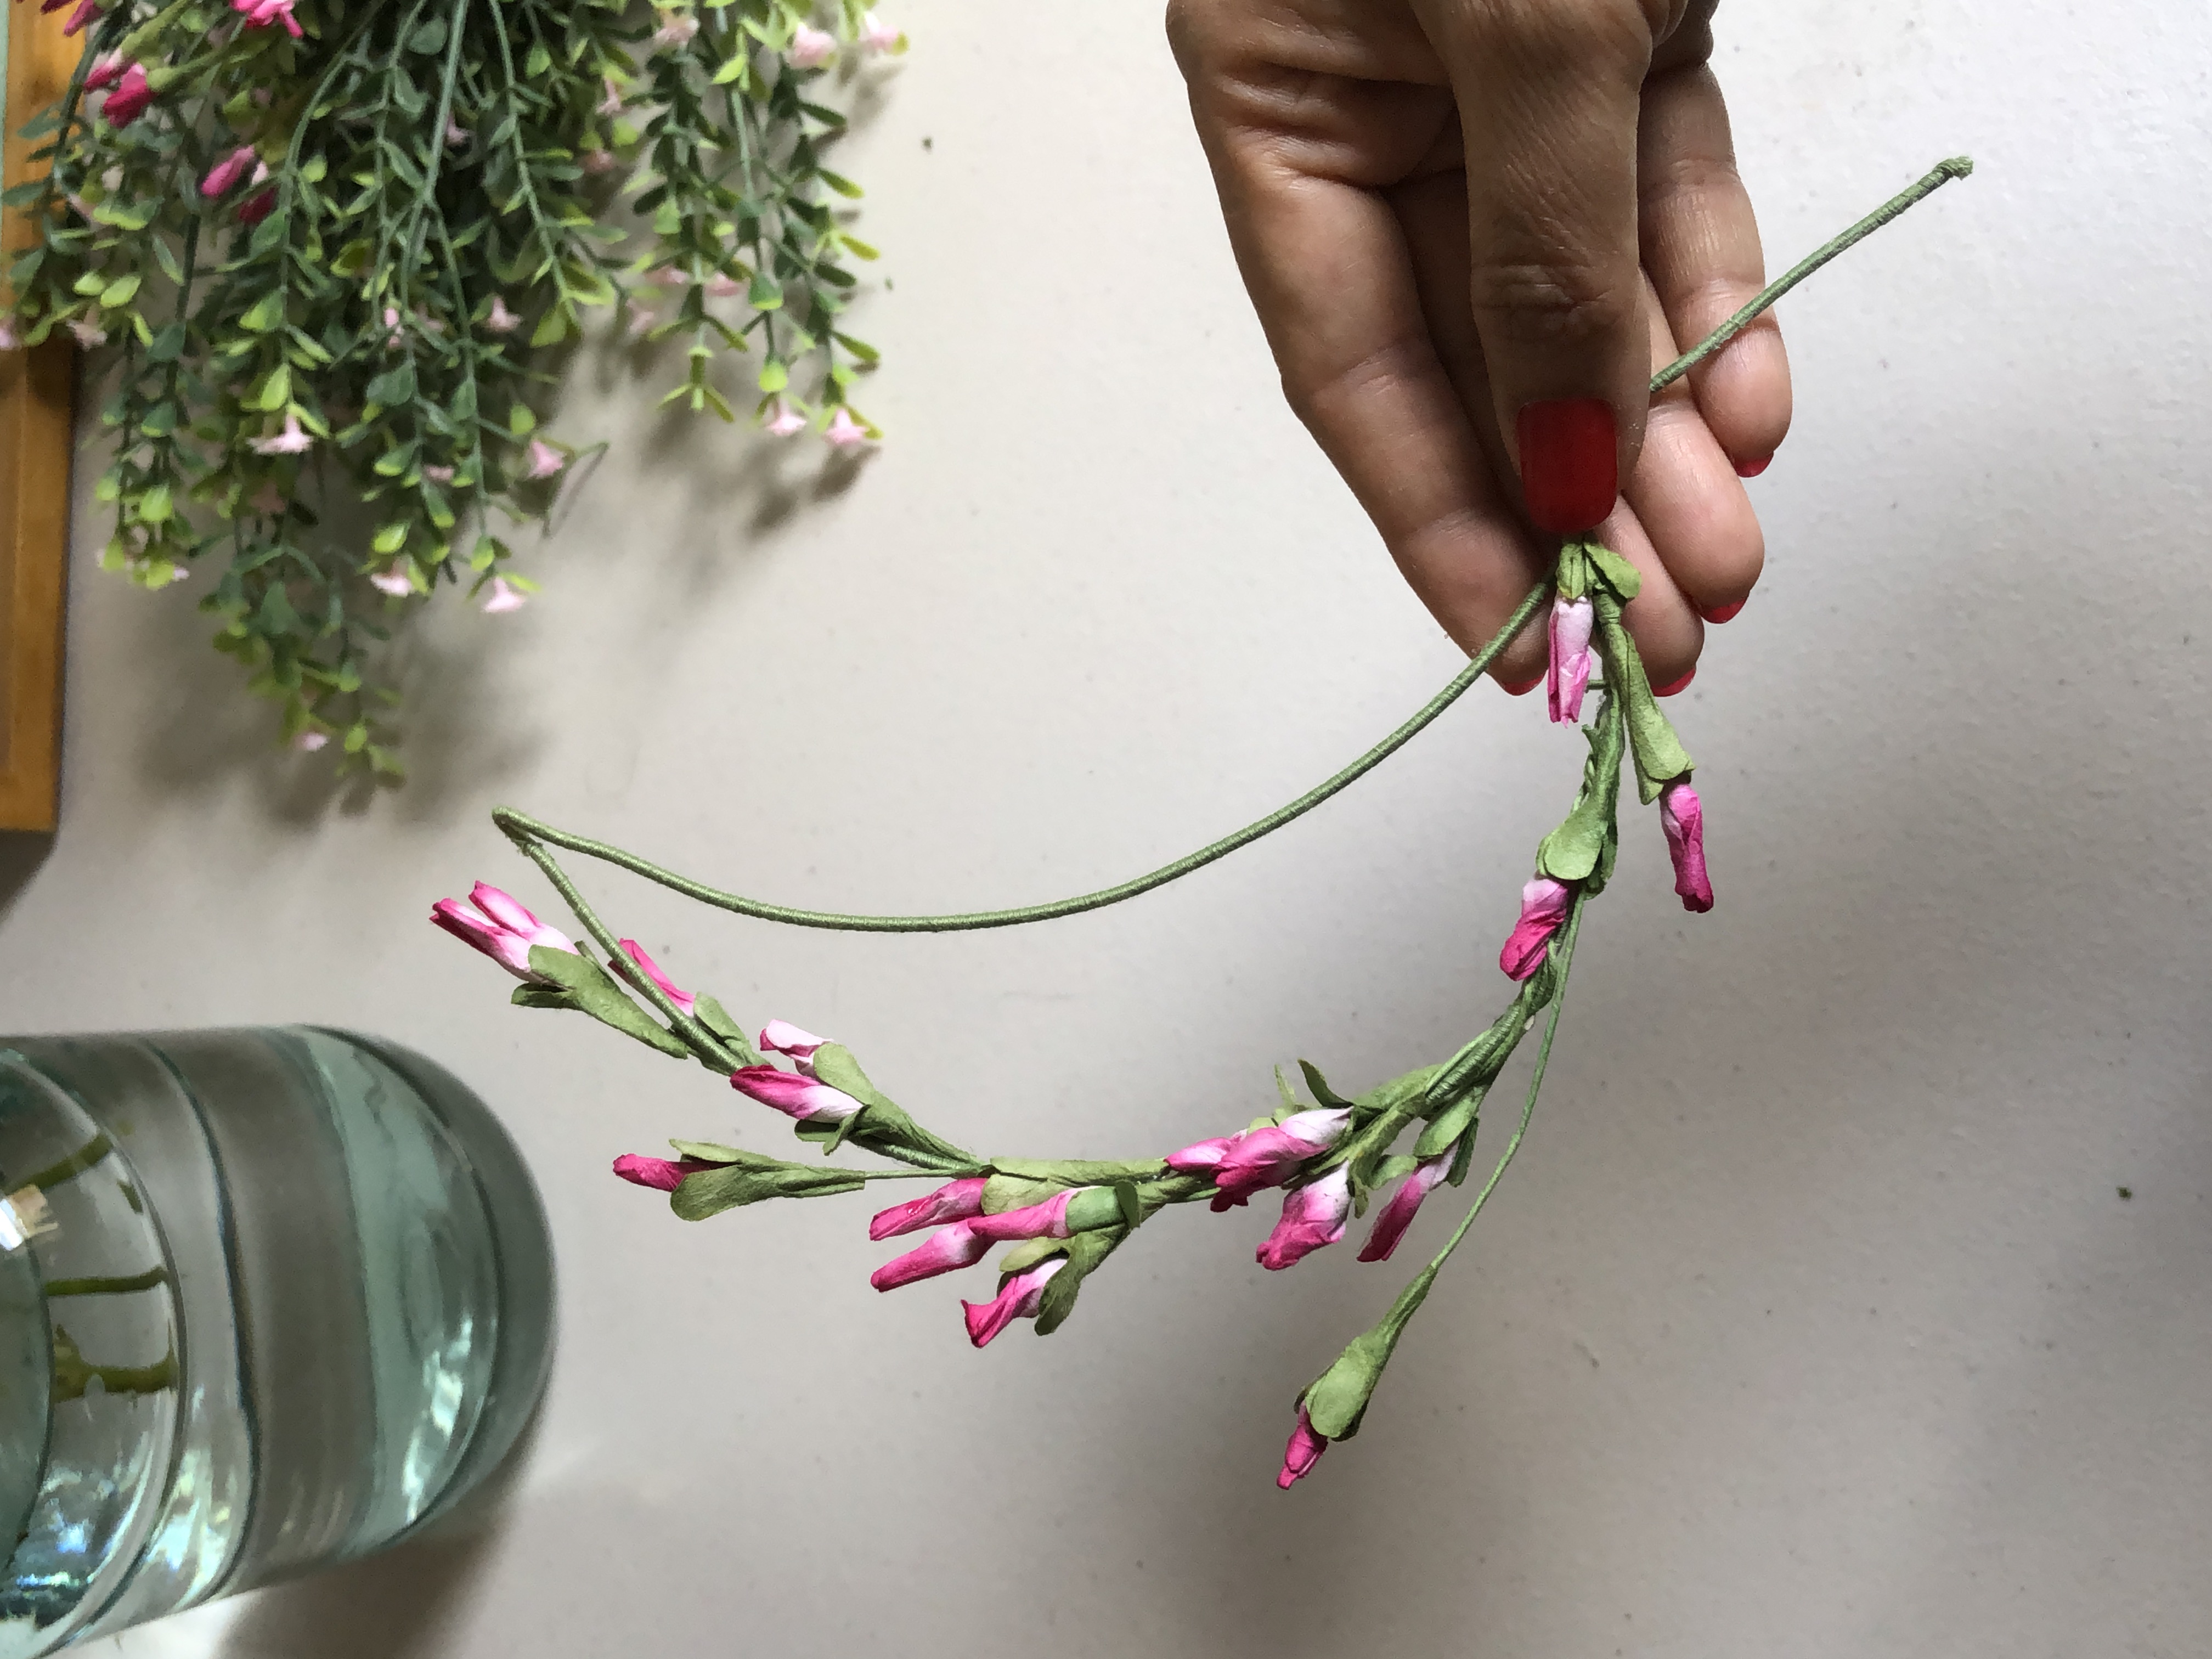
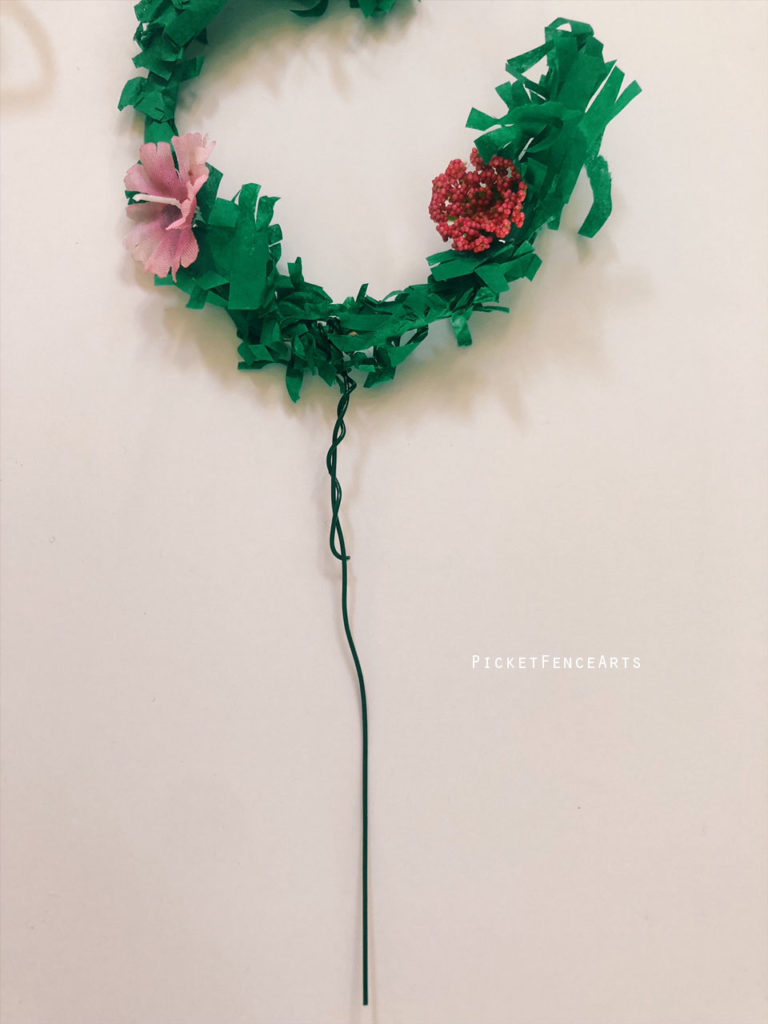
1. Bend your floral wire in half and pinch the “U” part of the wire with pliers (see images below).
2. Now shape your wire around the base of your vase to give it an “arc” shape.
3. Gently pull one side of the wire to create a crescent shape.
4. Wrap the end of the other side around to lock the shape in place.
5. Wrap or glue flowers onto the crescent shape.
6.Your floral crescent topper is ready for the cake!
*I do not serve the tiny part of the cake where I inserted the cake topper.

Floral Crescent
DIY Eid Cake Topper

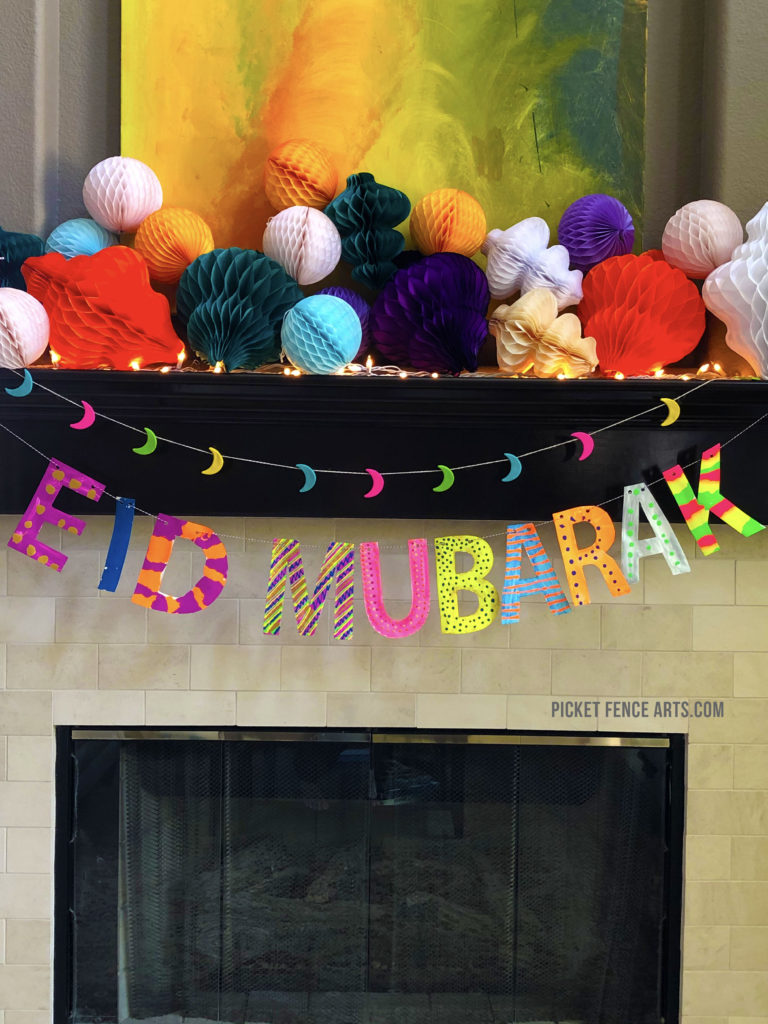
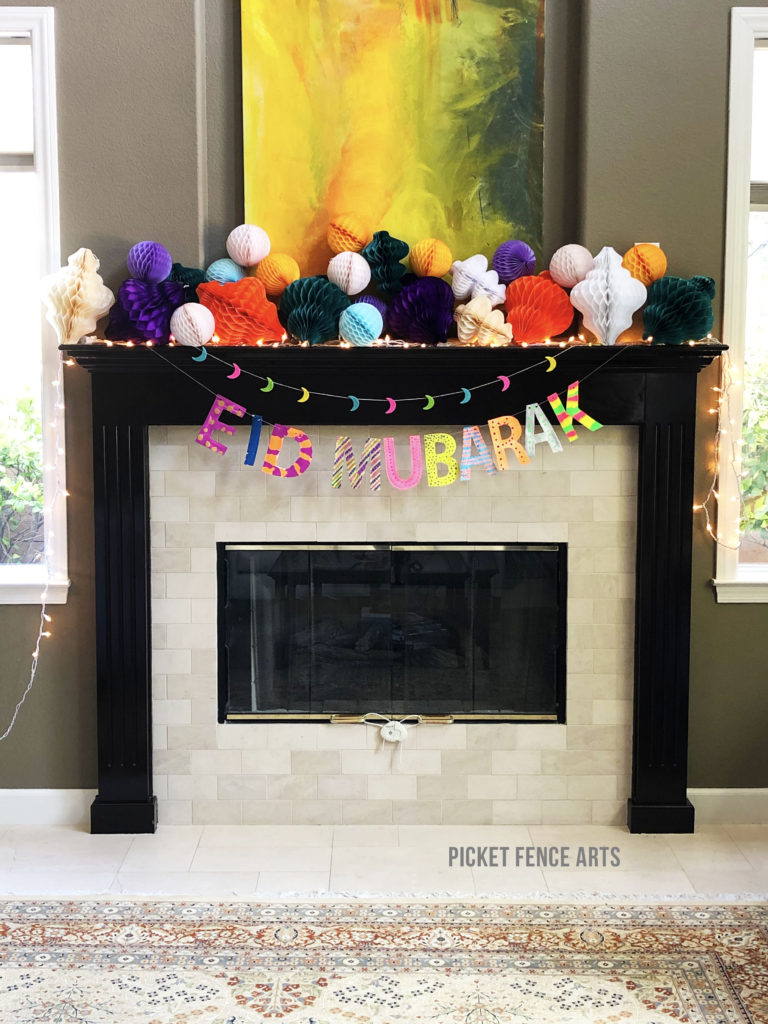
DIY Painted Eid Letter Banner

Making your own Eid decor is always so much fun! This year we decided to paint our letters and have fun with colors. As always, this is super fun DIY. All the files needed to make this at home are available to download below.

Materials:

  • PDF File
  • Paint Paper Pad (Available at Target and craft stores, this type of paper takes paint really well and it is thick enough to hold up the letter shapes)
  • Masking tape or painters tape
  • Paint and brushes (We used this one from IKEA)
  • Sheet (to protect your work surface)
  • Scissors
  • Single hole punch
  • String

Step 1: Most standard paint pads are 9×12, start by cutting it to 8.5×11 so it can fit in your printer.
Step 2: Download and print all pages in the PDF file.
Step 3: Lay a plastic table cloth to protect your workspace and tape down the pieces of paper with letters on it. This way the paper will not curl up as the paint dries.
Step 4: Start painting!
Step 5: Let the paint dry completely. We had to do longer than 24 hours as my son used A LOT of thick paint for his letters.
Step 6: Cut out all the letters. Punch holes using a single hole punch.
Step 7: String your letters and your banner is ready to hang!

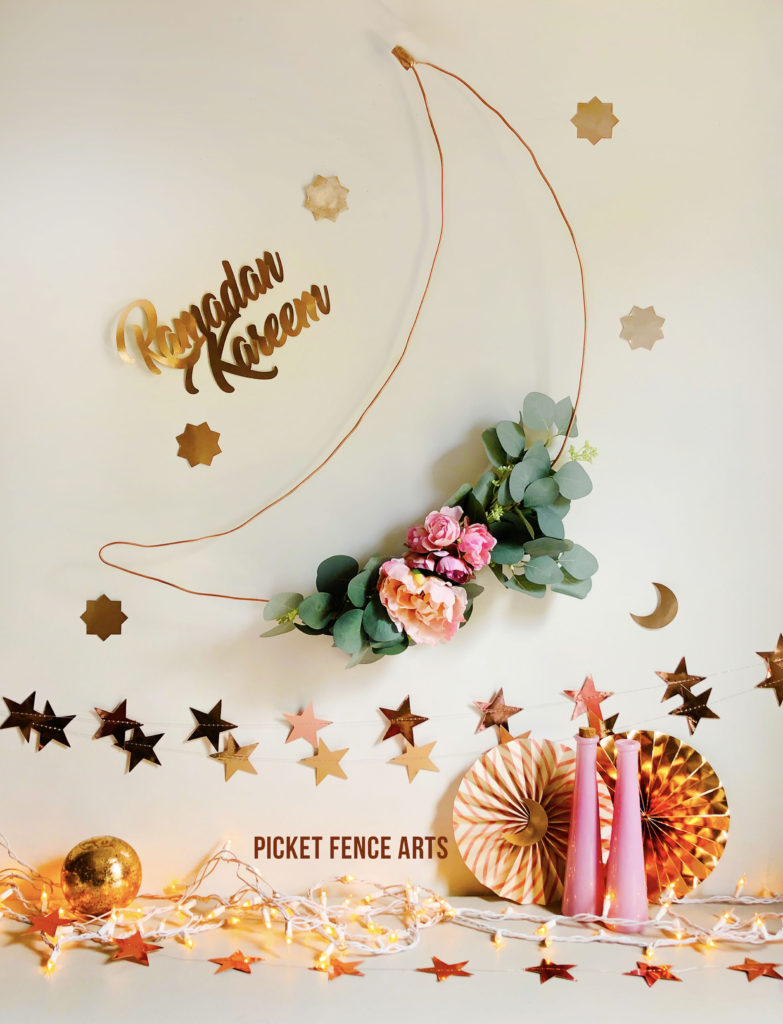
DIY Copper Tubing Crescent Moon

There are so many versions of modern wreaths out there, but I wanted to do something entirely different for Ramadan and Eid. So I decided to create a modern and unique crescent made out of copper tubing! This copper wire floral crescent is so stunning, yet it is easy to make.
Watch the video below to see how I made it!

DIY Copper Tubing Crescent

Materials

  • 1/8″ Copper Tubing (I bought from Amazon)
  • Tubing cutter
  • Faux Flowers
  • Faux Branches
  • Floral tape (or floral wire)
  • Large piece of paper
  • Pencil
  • Scissors
  • Hot glue gun
  • Tape

Watch the video here:
https://www.picketfencearts.com/wp-content/uploads/2020/05/video-2.mov

Step 1: Create a template by sketching out a crescent on a piece of paper using a pencil. This template will help you shape copper tubing into the crescent shape.

Step 2: Once you are satisfied with the shape of your crescent, cut it out.

Step 3: Lay out the template on the large surface and bend your copper tubing around into the crescent shape. I used tape to hold the tubing down as I went around the template.

Step 4: Once you have made your crescent shape, cut out the extra tubing where the two ends meet.

Step 5: Wrap the two tubing ends with tape (I used copper color washi tape) to form the crescent shape.

Step 6: Use floral tape to attach faux flowers and branches. If you like, use hot glue to secure the flowers in place.

You are done! Don’t forget to tag me!

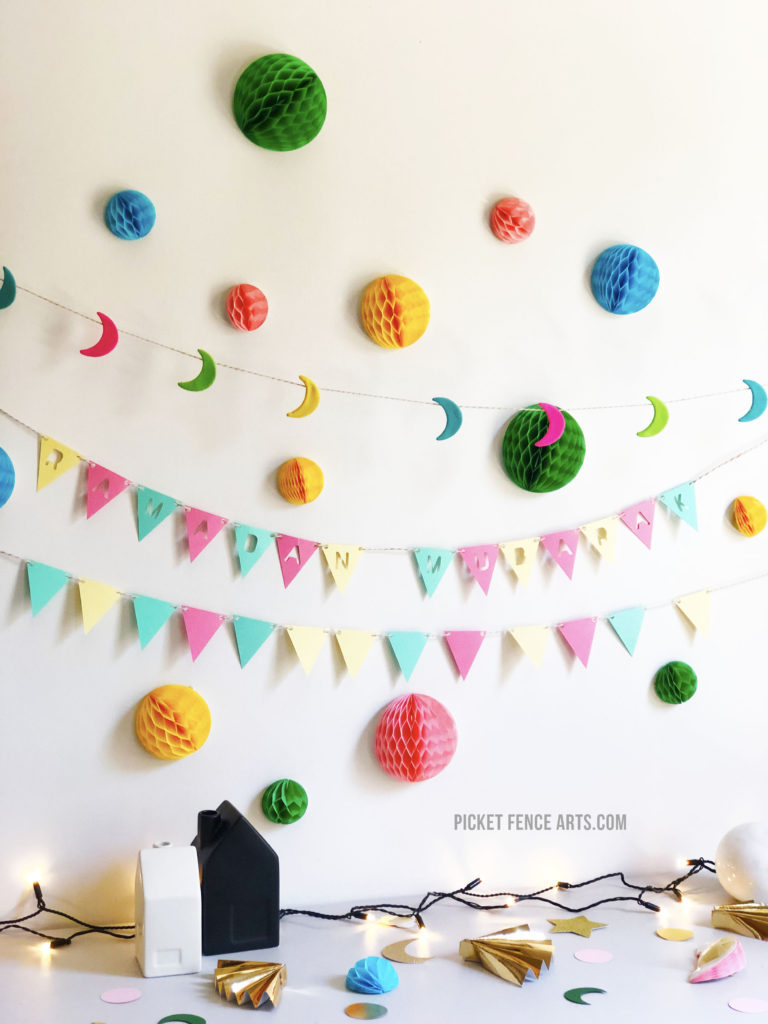
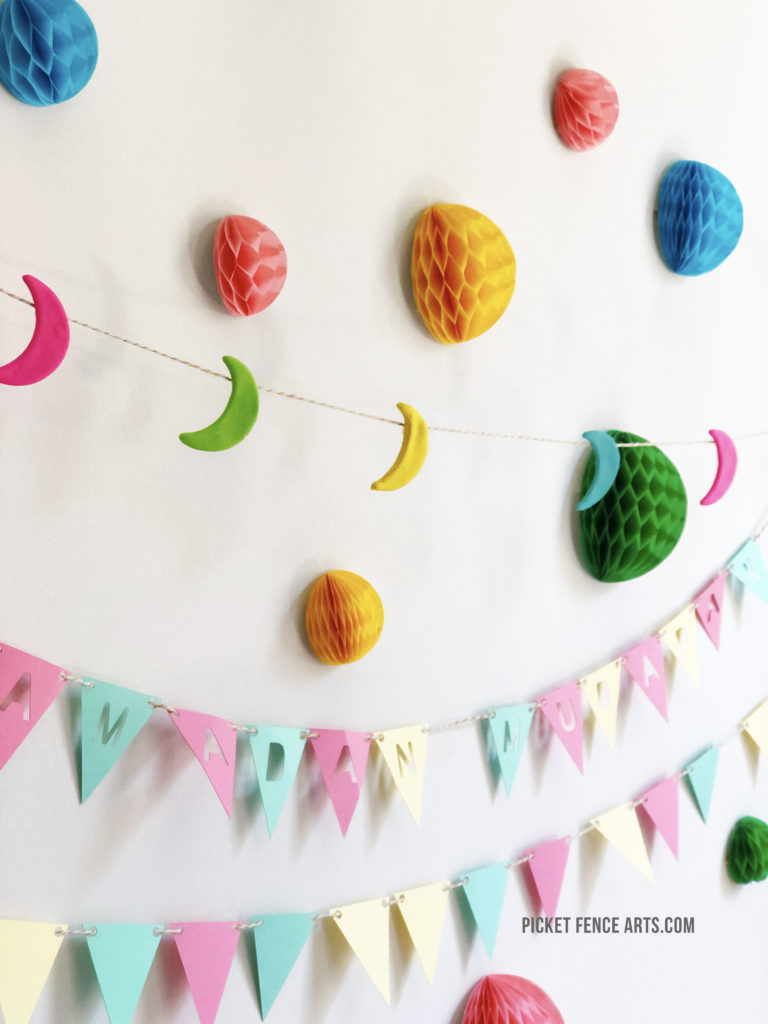
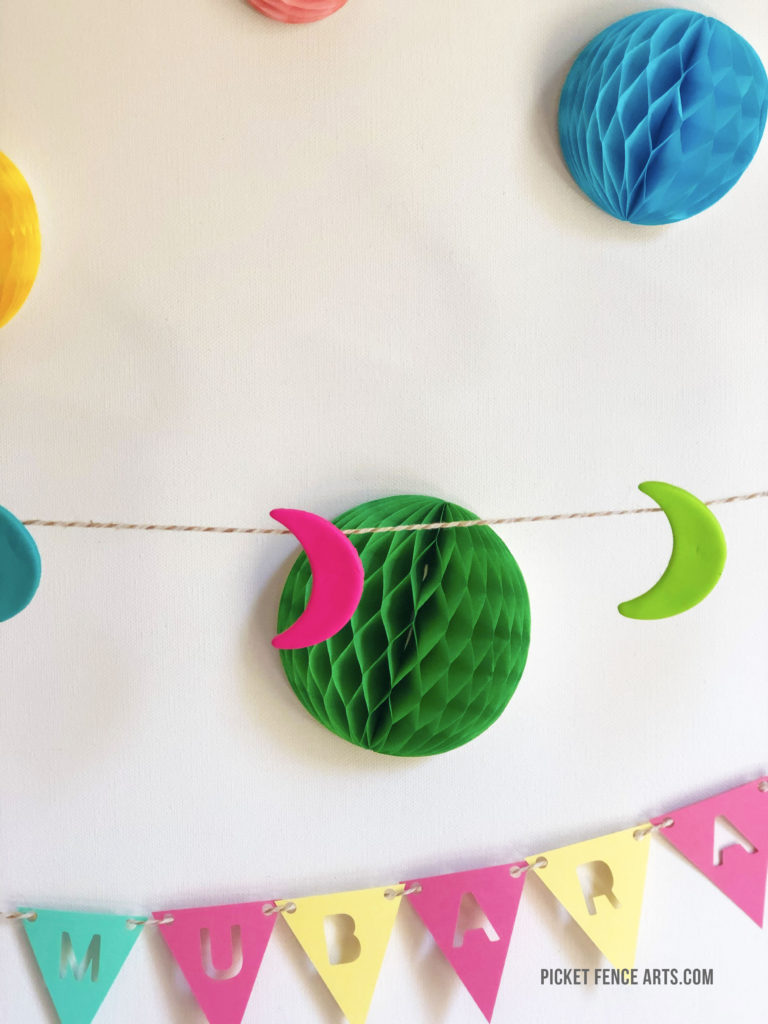
DIY Polymer Clay Moon Banner

DIY Polymer Clay Moon Garland
Polymer Clay Moon Garland

Polymer clay is such fun medium to play and create crafts with. It is readily available in craft stores and you can use it to make many fun things like garlands, necklaces, tags, etc. This easy moon garland is just the right project to do with kids.

Materials:

  • One package of polymer clay (assorted colors)
  • Small moon cookie cutter (Found at Hobby Lobby in the clay section) 
  • String 
  • Something to roll your clay with (I used an empty round lotion bottle)
  • Craft Baking Sheet
  • Hot glue gun
Polymer Clay Moon Garland

Step 1: Depending on the size of your cutter, break off a small chuck of clay in the desired color. Start by rolling it around your hand to soften it up. Roll into a ball between your hands and then use your roller to flatten it out (like you would cookie dough).

Step 2: Use the moon cutter to cut out all of your moon shapes. Mash up the leftover clay and roll it out again and cut more shapes out of it until you have no more clay left (again just like you would cookie dough).

Step 3: Repeat the steps for all the different color clay you have.

Step 3: Place all your moon shapes on a designated craft baking sheet and bake at 275 for 15-20 minutes (see package information for baking instructions).

Step 4: Let your moon shapes cool and then use a hot glue gun to carefully place a dab of glue on the back of your moon shape. Place the string on the glue and gently press with a toothpick (I just use a bit of parchment paper). The string will be hot glued to the moon. Evenly space your moons along the string.

Your moon garland is ready to hang!

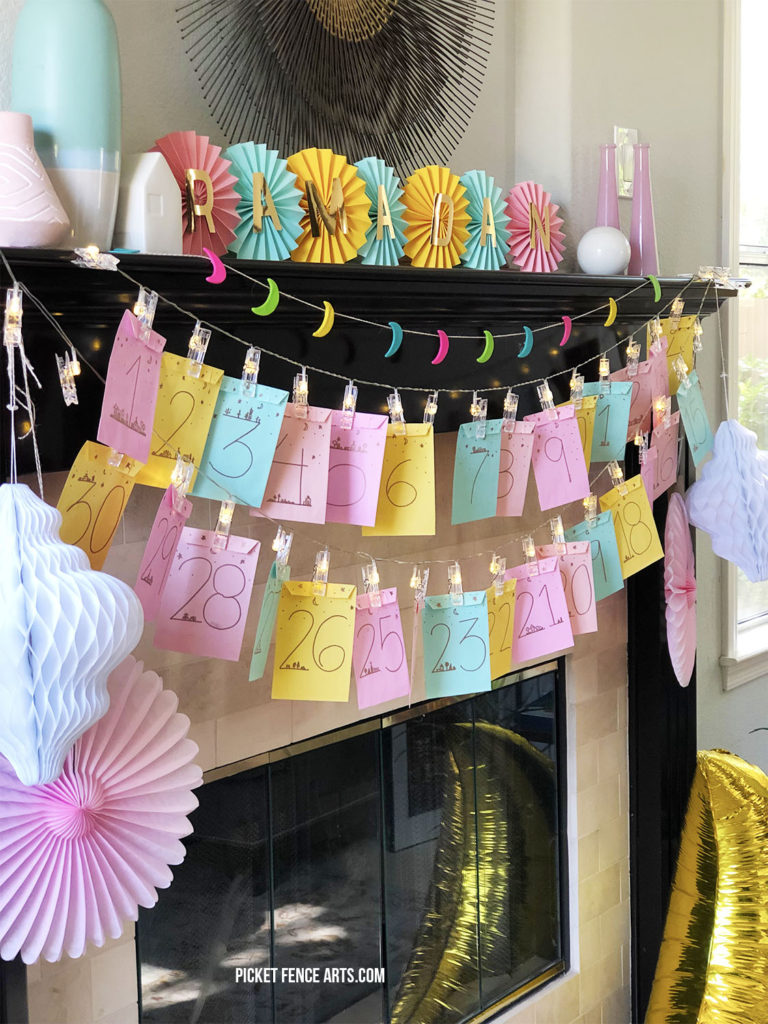
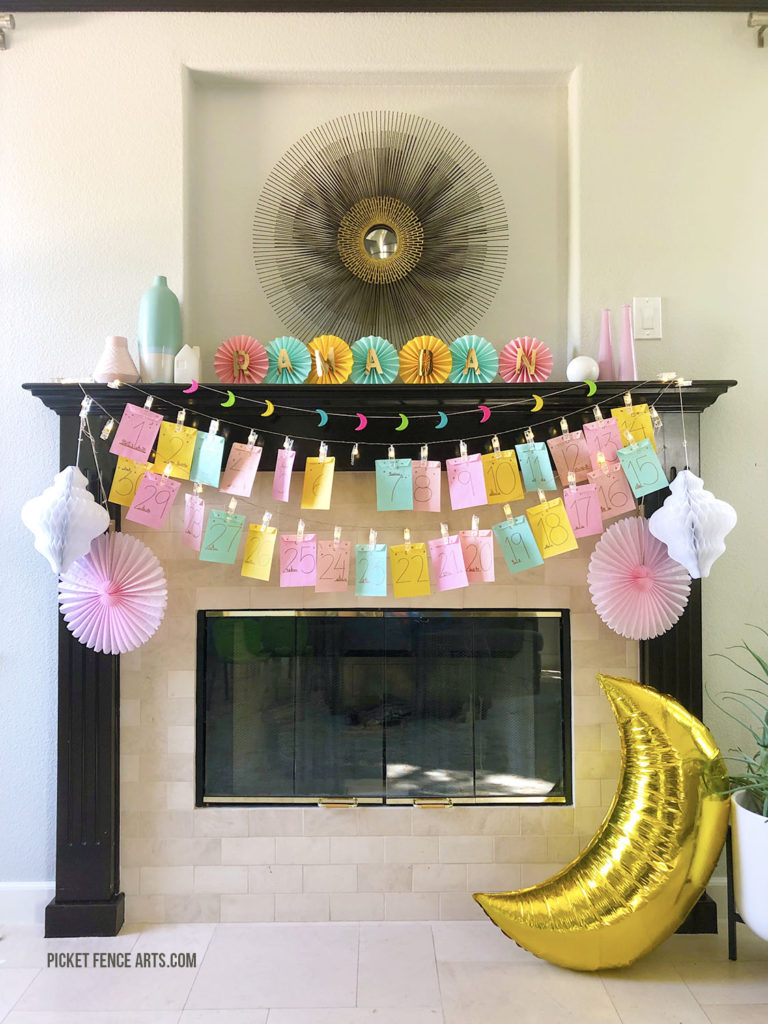
DIY Ramadan Countdown Calendar

Easy DIY Ramdadan Countdown Calendar

DIY Ramadan Countdown Calendar

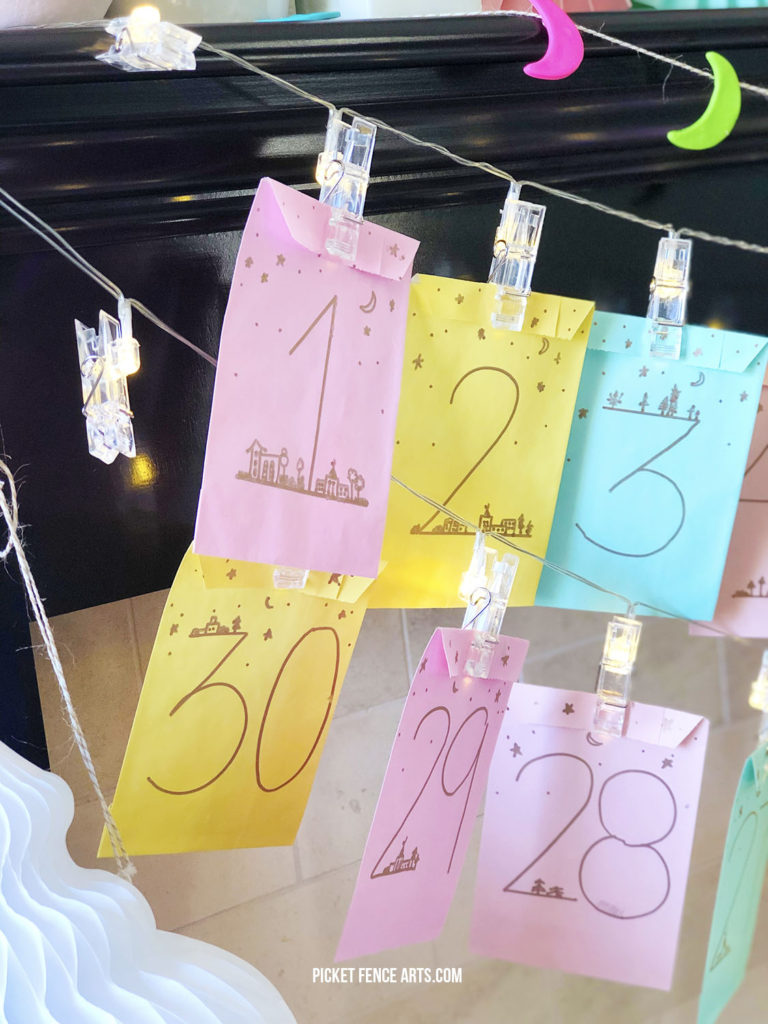
Ramadan is just around the corner and if you are looking for an easy way to make a countdown to Eid calendar, then you have come to the right place. All you need is LED Photo Clip Strings (the one I used, another, another), craft bags (the one I used), and a sharpie.

We strung the lights on our mantel. And my kids wrote the numbers 1-30 on bags and viola you are done! Simple and easy and, if you use coupons at Michael or Hobby Lobby can easily be done under $20. Lanterns are from my shop here.

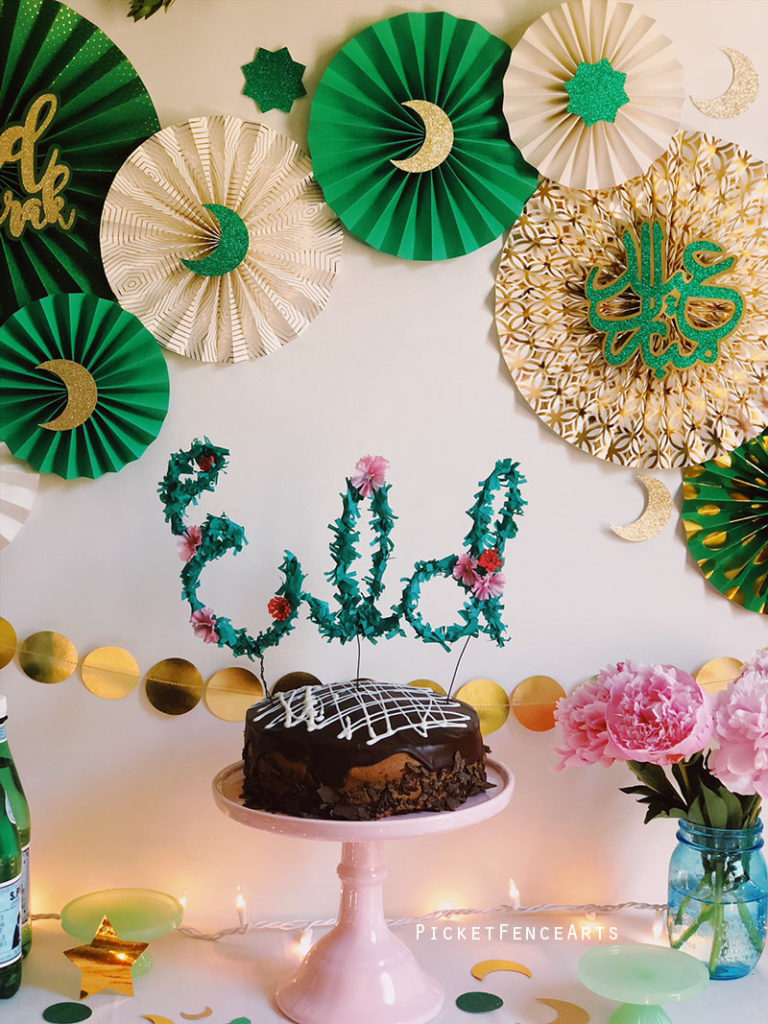
DIY Floral Eid Cake Topper

Eid Floral Cake Topper

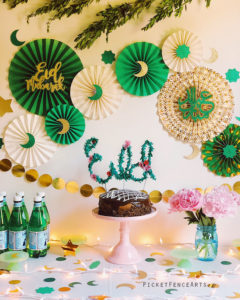
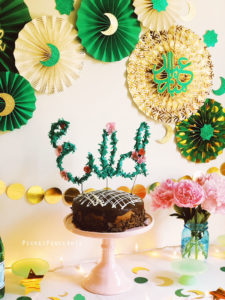
When I started to work on this year’s Eid collection, the traditional and classic green and gold colors were on my mind. I did a green/gold Ramadan set a few years ago, but this year I wanted to take this traditional combination and give it a modern spin. The inspiration was all around me, but I particularly love the trend of mixing botanicals with hints of metals like gold and copper. If you are DIYer/crafter like me, you probably follow a lot of DIY bloggers and artists on Instagram. One such awesome resource is House That Lars Built. Their recent post of DIY floral cake topper in celebration of the royal wedding was just the perfect touch needed to make my Eid décor complete. Here’s my take on their version:

Materials:
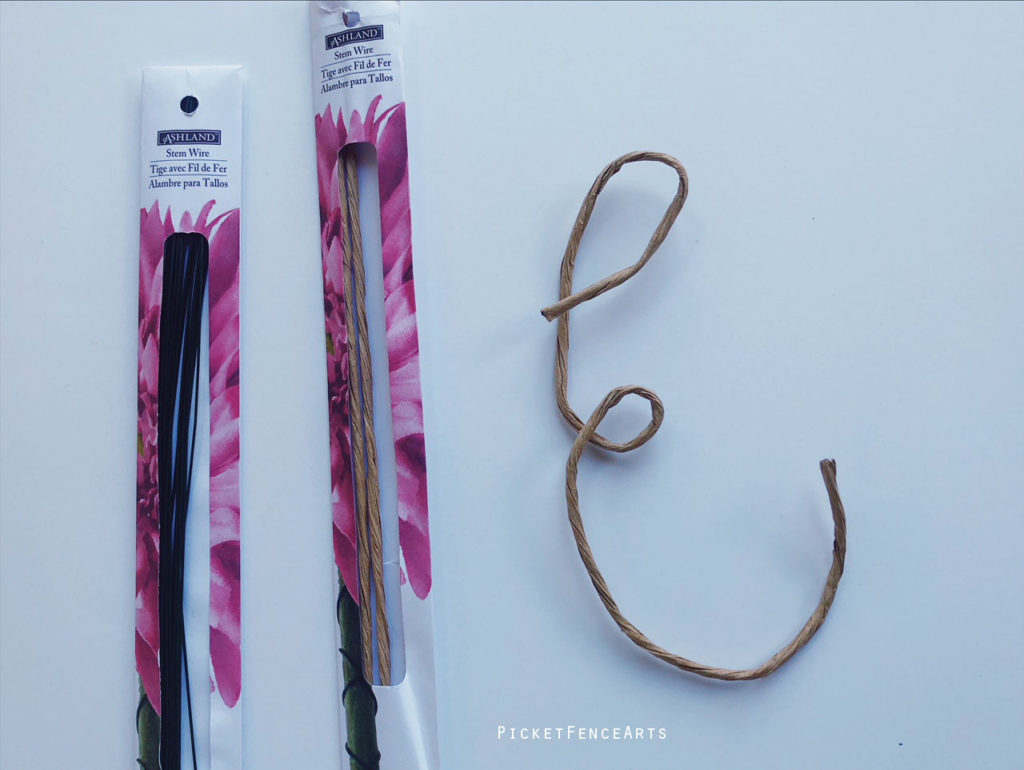
3 Paper Covered Floral Stem Wire (18 Gauge)
3 Uncovered Floral Stem Wire (At least 18 Gauge)
Green Tissue Paper
Small flowers
Glue Gun (or other kind of glue)
Scissors
Clippers

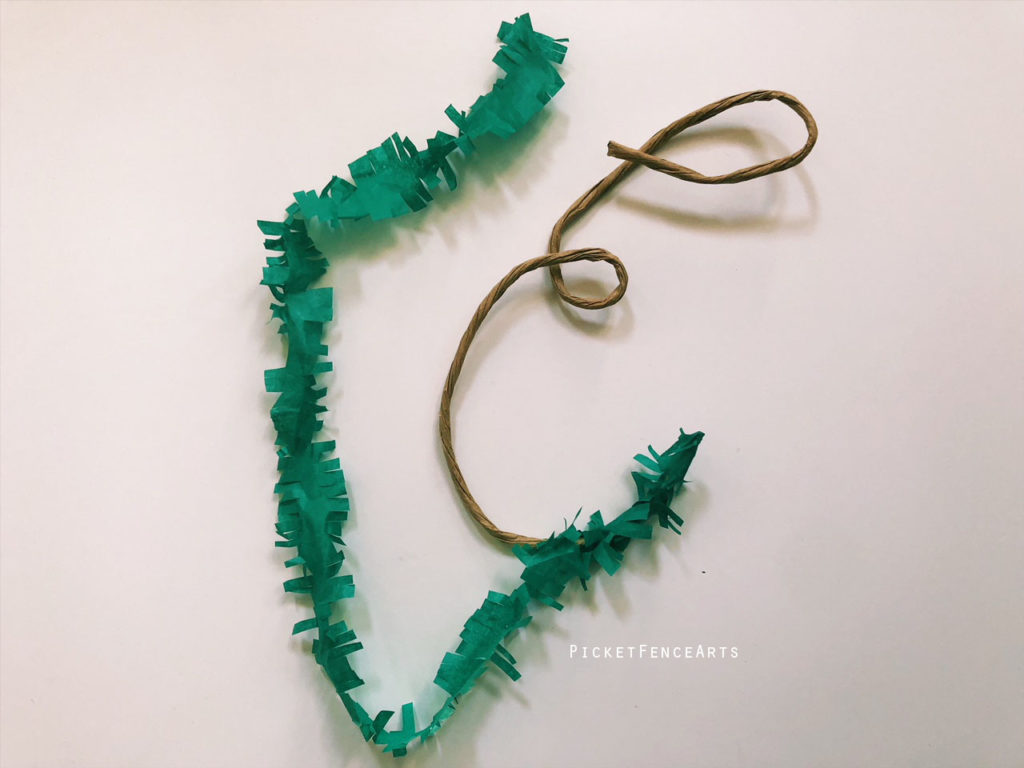
Step 1. Bend the paper covered wire stem to form the letter shape. For the E, make the bottom half slightly bigger and rounder. Finish all the letters this way. I used my gardening clippers to clip the ends of my cursive “I” just a little bit.

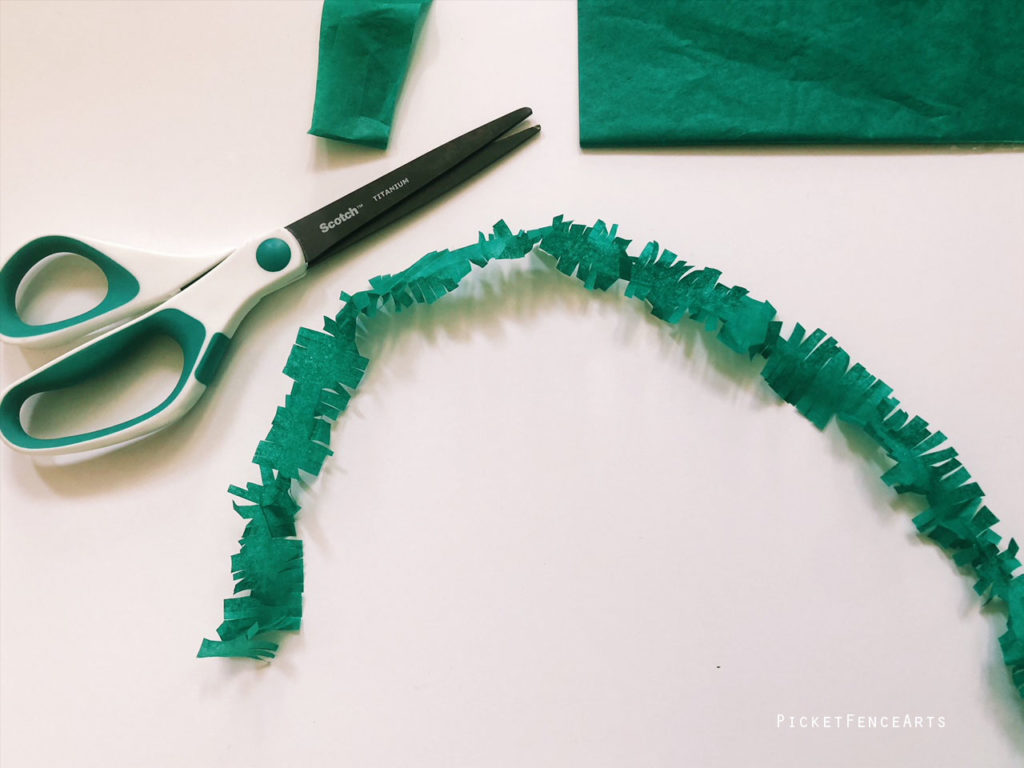
Step 2. Cut off 1″ strips of your tissue paper. I use the entire length of the paper which was about 15″ long.

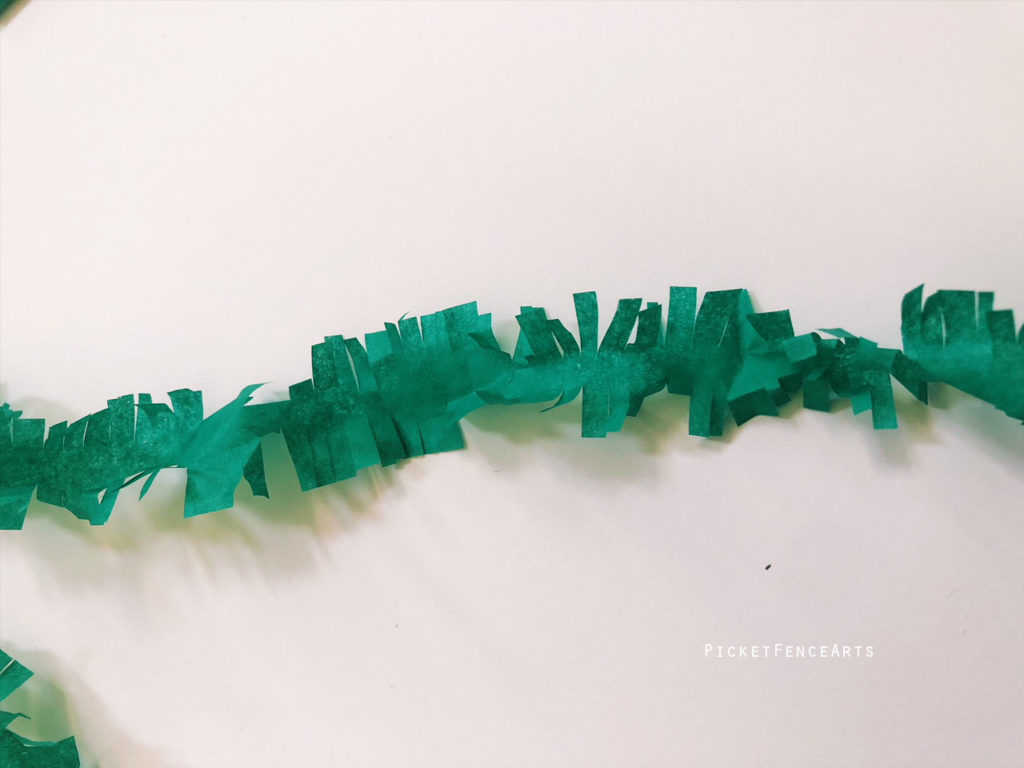
Step 3: Cut fringe on both sides of the strip, careful not to cut the entire width of your strip. You want the fringe on both sides. You will need about six or seven 1″x15″ strips. Fluff the fringe on both sides to create volume.

Step 4: Take one strip and glue one end to the letter. I started at the bottom-end and worked my way up, wrapping it around the letter. I used about 3 strips for the letter “E”. When you start to wrap the second strip, slightly overlap to the first and secure with glue.

Step 5: Finish covering all the letters. Then take the uncovered wire stem, clip it in half (you will have two 9″ pieces) and twist it around the letter to create the base to insert into the cake.
*I bought 20 gauge stem and it was not strong enough to support the letters. So get something stronger (the lower the gauge number, the thicker the wire).

Step 6: Glue mini flowers on the letters.

Step 7: Enjoy your labor of love!

Thank you for stopping by! Don’t forget to tag @picketfencearts on Instagram or Facebook with your projects!
POM POM RAMADAN BANNER

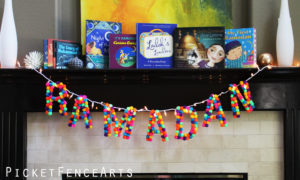
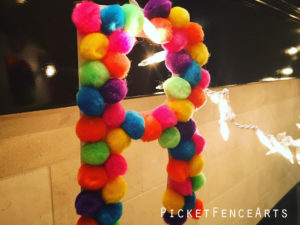
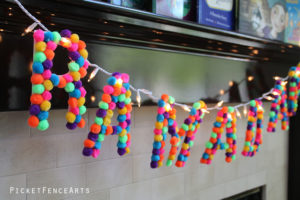
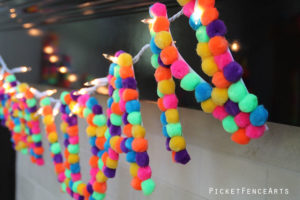
Make this fun and colorful pom pom banner today. This is an amazingly simple and fun project to do with your kids.

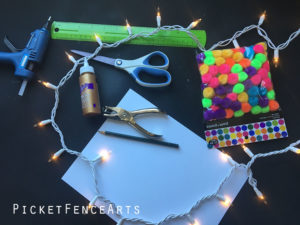
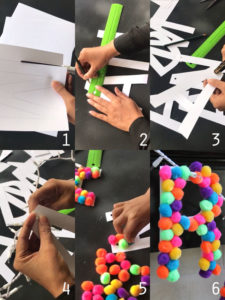
Step 1: Print out letters on card stock and cut out each letter using scissors. I made a template of the letters for download here. Michael’s has a variety of 8.5×11″ card stock available that will fit your printer. To make the letters sturdier, you can glue two pieces together (I didn’t do this).

Step 2: With a ruler, mark the a spot in your letters where the light bulb will go through.

Step 3: Using a small single hole paper punch, punch holes in your letters. Make sure to put two holes in the letters M and N. Alternatively, if you don’t have a punch, you can also use a Exacto Knife carefully to cut X shape in the letters. The holes or “X” cuts needs to just big enough for the light bulbs to fit through. If the hole is too big, the bulbs will fall out.

Step 4: Carefully put the string light bulbs in the holes. I use a gentle turning motion to make sure I don’t rip the paper. After making sure your holes are adjusted for the light bulbs, remove the string lights for the next step. Disclaimer: Please do not leave the lights unattended. Regular string lights can heat up and the pom poms can catch fire. You can use LED lights (available at Target, Walmart, Amazon) which are safer. I do not leave my lights on unattended.

Step 5. Let the fun begin! Glue your pom poms on letters. Leave the area around the hole a little sparse. I used a hot glue gun (careful if doing with kids) but you can use any non-toxic glue. Pom pom the heck out of all your letters.

Step 6. String the letters on the lights making sure that the bulb head clears and does not touch the pom poms. Put up your banner on the mantle or wherever you like and enjoy!!

Thank you for stopping by! Don’t forget to tag @picketfencearts on Instagram or Facebook with your projects!